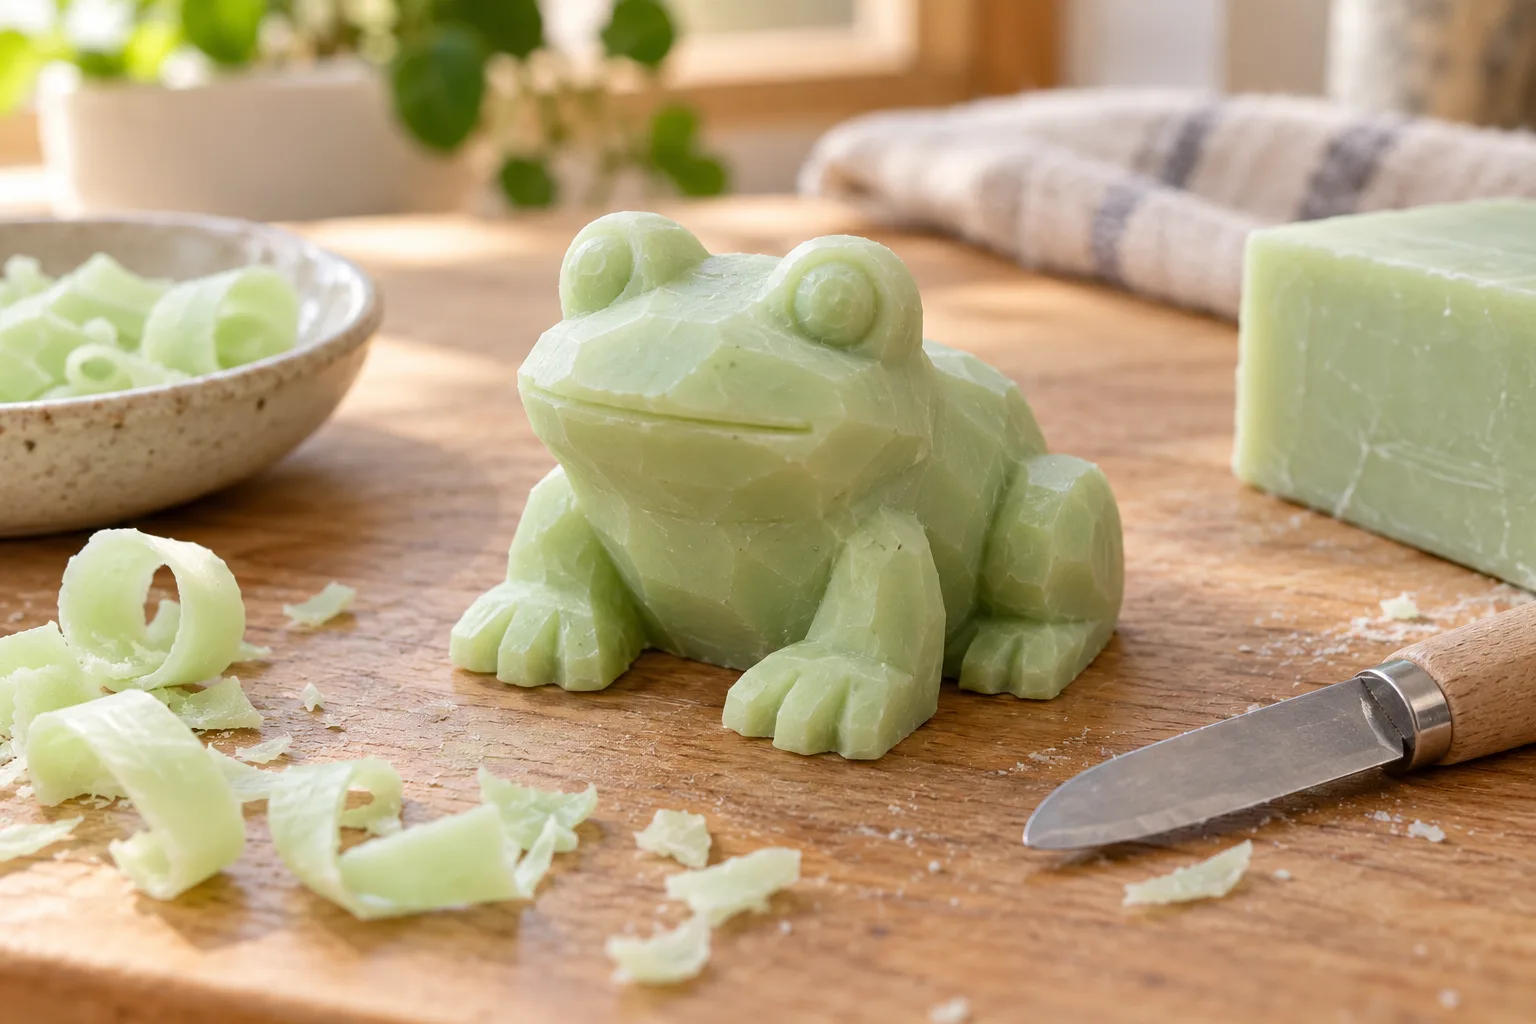
A frog is a forgiving first animal project because it can be built from a squat body and four broad feet. You do not need separate toes or delicate legs for the shape to read: the low outline, raised eyes and a short mouth line are enough. Start with a firm bath-soap bar, make a few test shavings and take material away gradually.
This is a carving project using bath soap, not soapstone. The photos show an original visual sequence for the same simplified design. Choose tools and supervision appropriate to the person carving; stop if the bar shifts or a cut would pass toward your hand.
Materials and a safe setup
- A firm bath-soap bar with a broad, flat face
- A pencil or blunt modeling tool for a light outline
- A stable non-slip work surface or carving cradle
- A blunt plastic carving tool or other age-appropriate tool
- A tray or cloth for shavings and a soft brush for cleanup
Keep the bar from rolling and make short, shallow cuts directed away from your supporting hand and body. Move or re-secure the soap before changing direction. Never carve toward your palm. For children, use blunt tools and active adult supervision; an adult should manage sharp tools. See the soap-carving safety guide and University of Alaska Museum’s soap-carving activity.
Step 1: Draw a simple frog outline
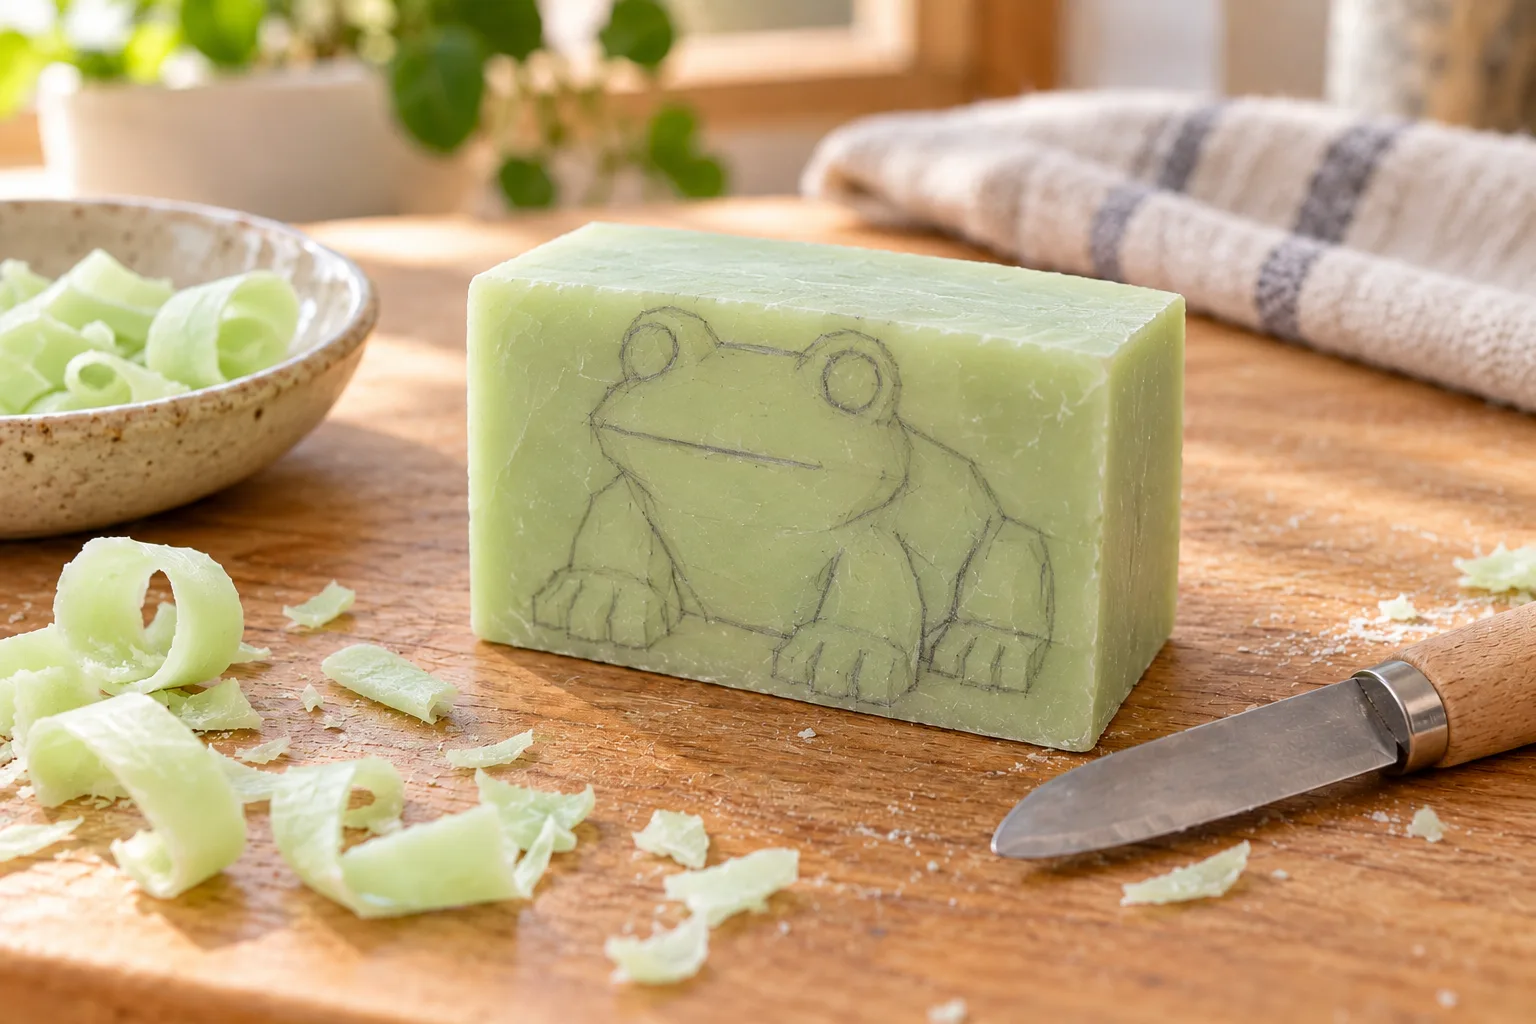
Place the soap on a stable, non-slip surface and draw a low, rounded frog: a wide head, broad body and four short feet. Keep the feet as part of the body outline; avoid thin toes, narrow necks or a tall unsupported shape. A front view is easiest to carve and makes the eye bumps symmetrical.
Step 2: Block out the strong silhouette
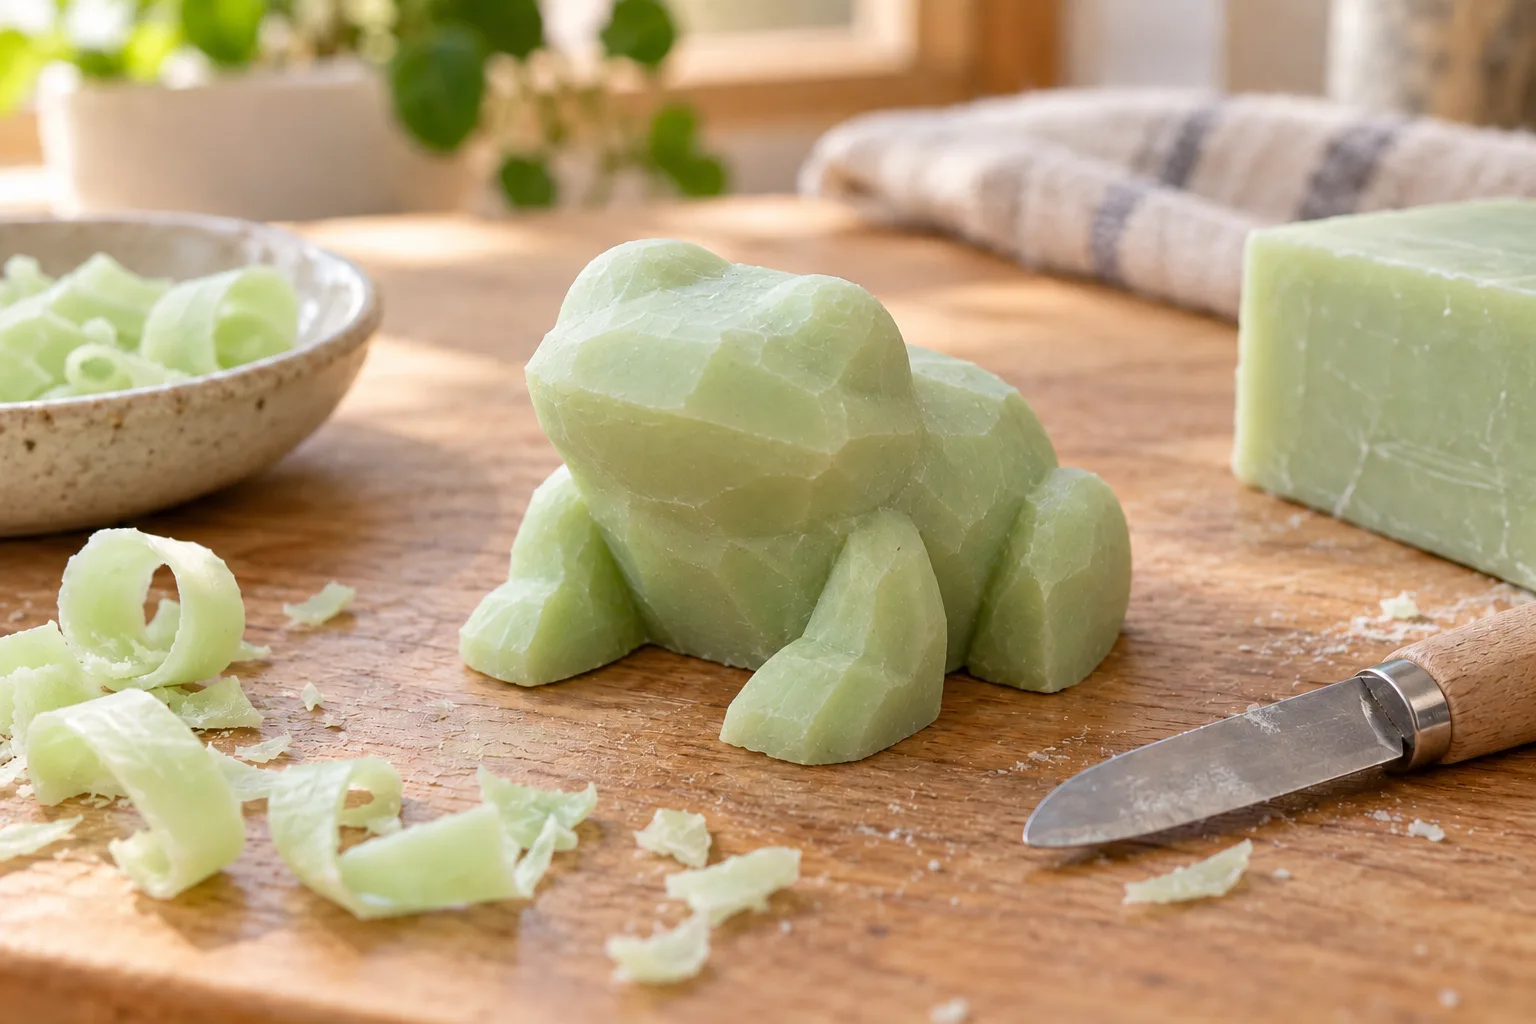
Remove small curls around the outside of the drawing. Work around the whole form rather than finishing one side deeply. Leave extra soap around the feet and eyes. At this stage the frog should look like a soft, squat block—not a finished sculpture. If the bar rolls, stop and secure it again before cutting.
Step 3: Shape four sturdy feet
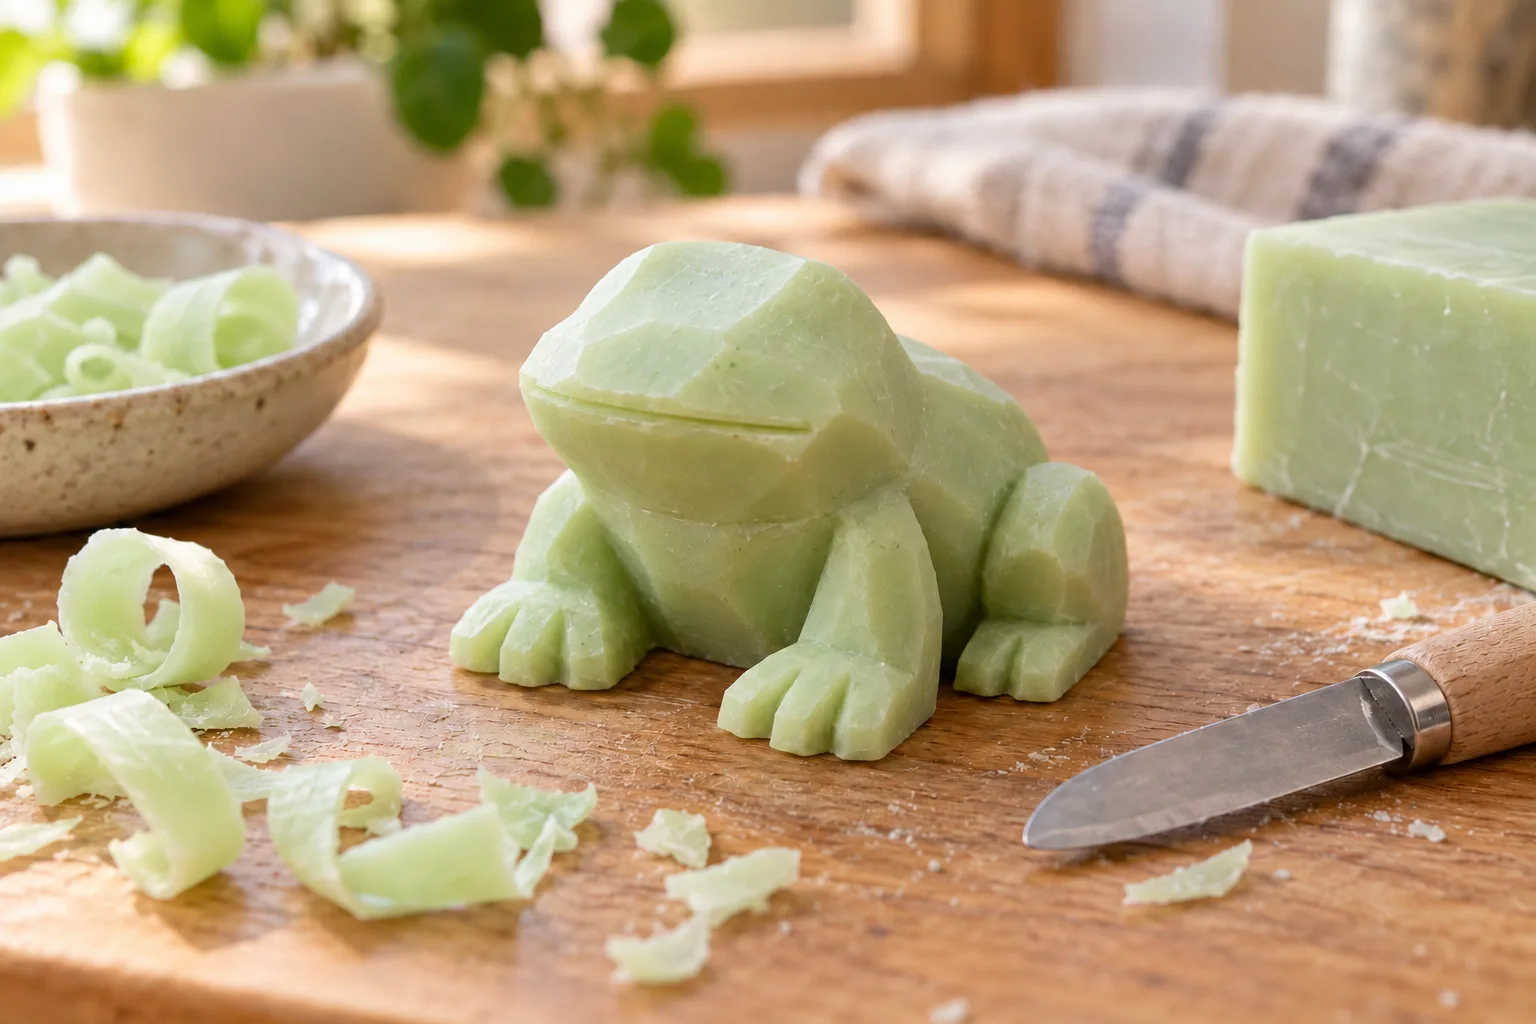
Round the back and belly with shallow, controlled shavings. Define each foot using a short groove that stops before it reaches the underside; this preserves a strong base. Keep the front feet broad enough to support the frog. Compare the left and right sides often, but do not chase perfect symmetry at the cost of removing too much material.
Step 4: Add shallow details
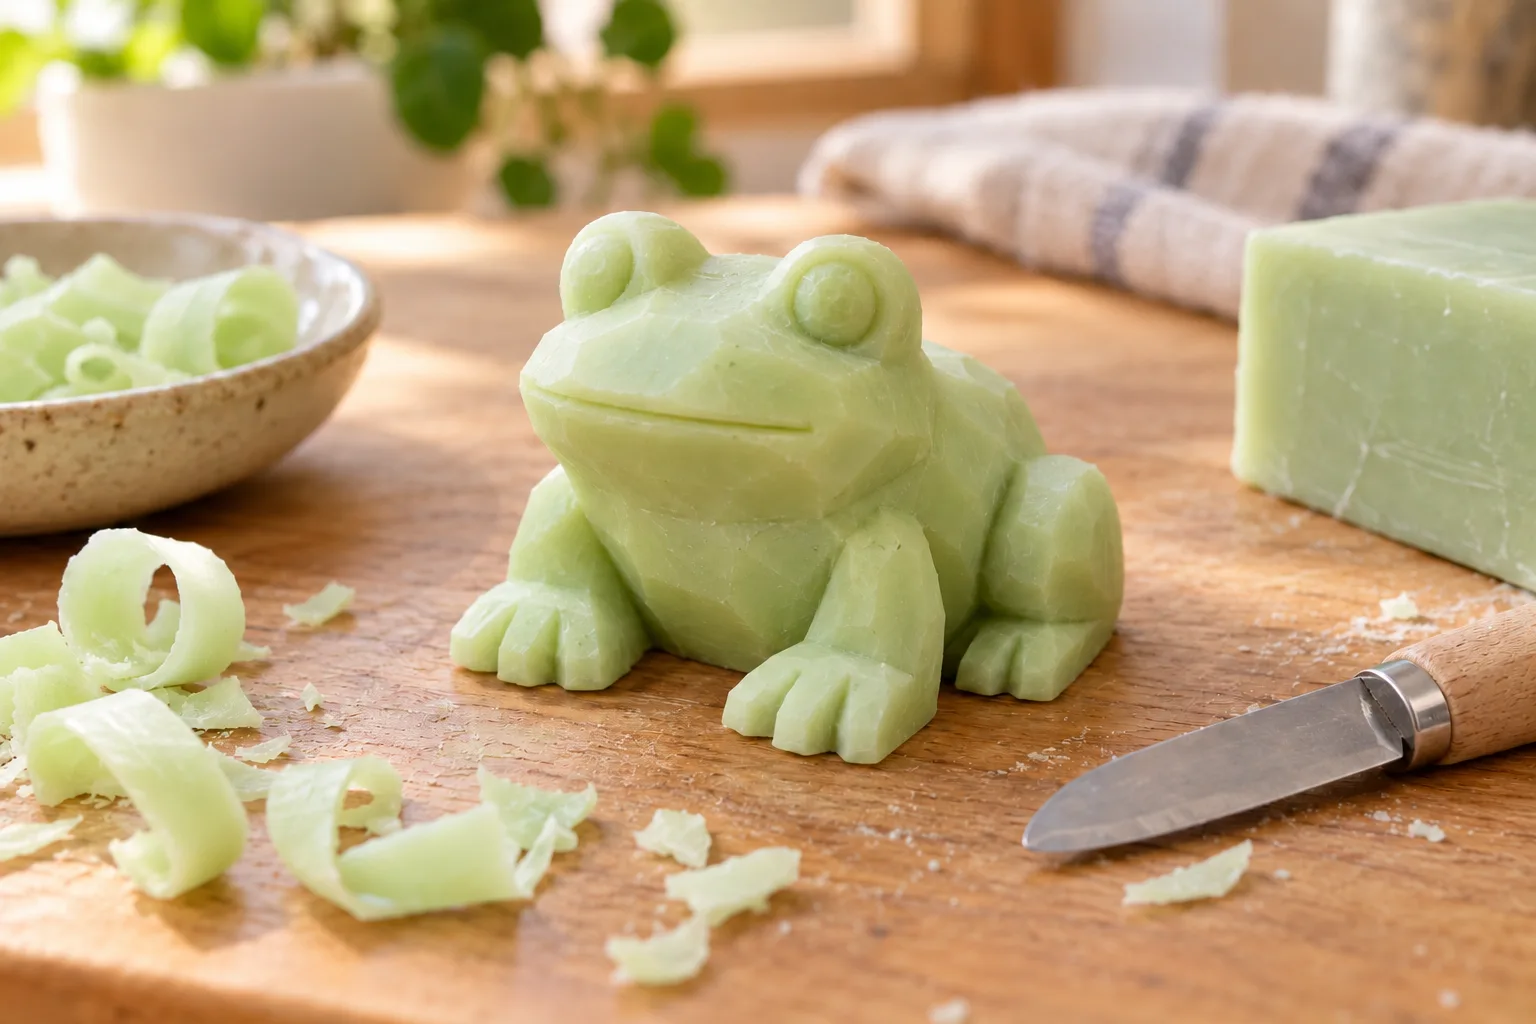
Use a blunt modeling tool to form two small raised eye bumps, then add a short mouth line and a few shallow toe marks. Avoid deep cuts around the eyes or between the feet. Brush away crumbs with a soft cloth and let the carving dry. The simplest details are usually the clearest—and leave the frog strongest.
If a detail cracks or the frog looks uneven
- A foot is getting thin: stop defining its edge and preserve a wide connection to the belly.
- An eye bump chips: simplify both eyes into shallow raised shapes or smooth the damaged area into the head.
- The soap crumbles: use smaller shavings and test a different firm bar; soap formulas vary.
- The frog will not sit flat: lightly level the underside with the bar resting on the table, taking tiny amounts from the high point.
Use what remains for a smaller shape if the bar breaks. For more ideas, see animal soap-carving ideas, the beginner guide and how to choose soap for carving.
Frequently asked questions
What is the easiest frog shape to carve from soap?
Start with a low, rounded body, a broad head and four short feet that stay connected to the body. Large simple shapes read clearly and are less fragile than thin legs or deep webbed details.
What soap works best for a frog carving?
Choose a firm bath-soap bar with a broad face and test a few shallow cuts in a corner. Texture varies by brand and formula, so the test is more reliable than assuming every bar behaves the same.
Can children make a soap-carved frog?
Children should use age-appropriate blunt tools and active adult supervision. An adult should manage any sharp tool and keep cuts directed away from hands and body. The University of Alaska Museum activity also cautions that children need supervision with sharp objects.
How do I keep the frog’s legs from breaking?
Keep the legs short and wide, leave them attached to a substantial body, and take thin shavings instead of cutting a narrow gap all the way through. Add shallow grooves to suggest toes rather than making separate thin toes.
Source
- University of Alaska Museum: Make a Soap Carving Activity — beginner activity context and supervision reminder.
Updated October 5, 2026. Soap texture and tool safety vary; follow the directions for the actual tool and material you use.