A giraffe is a satisfying first animal soap carving because its long neck and simple profile read clearly even when the details stay minimal. Start with an ordinary bath-soap bar, draw the side view, and remove small curls until a sturdy silhouette appears. Keep the legs and neck thicker than you think they need to be; thin soap breaks easily.
This project means carving a bar of bath soap. It does not use soapstone, which is a different material and needs different tools. The pictures below show the stages of one simple design. They are visual references, not a substitute for the safety directions that came with your tools.
Materials for a simple giraffe
- One firm, unwrapped bar of bath soap with a broad, flat side
- A pencil and a simple giraffe side-view sketch
- A non-slip work surface or stable carving cradle
- A blunt plastic carving tool or butter knife for small, controlled cuts
- A wooden modeling tool, toothpick, or similar blunt tool for details
- A tray or cloth to catch soap shavings
If a sharp carving knife is part of your established practice, follow the tool maker’s safety guidance and keep the cutting path away from your supporting hand and body. For children, choose blunt tools and supervise closely. The University of Alaska Museum’s soap-carving activity lists beginner hand tools and cautions that children need supervision when sharp objects are used. See our separate soap-carving safety guide before starting.
Step 1: Draw a simple side profile
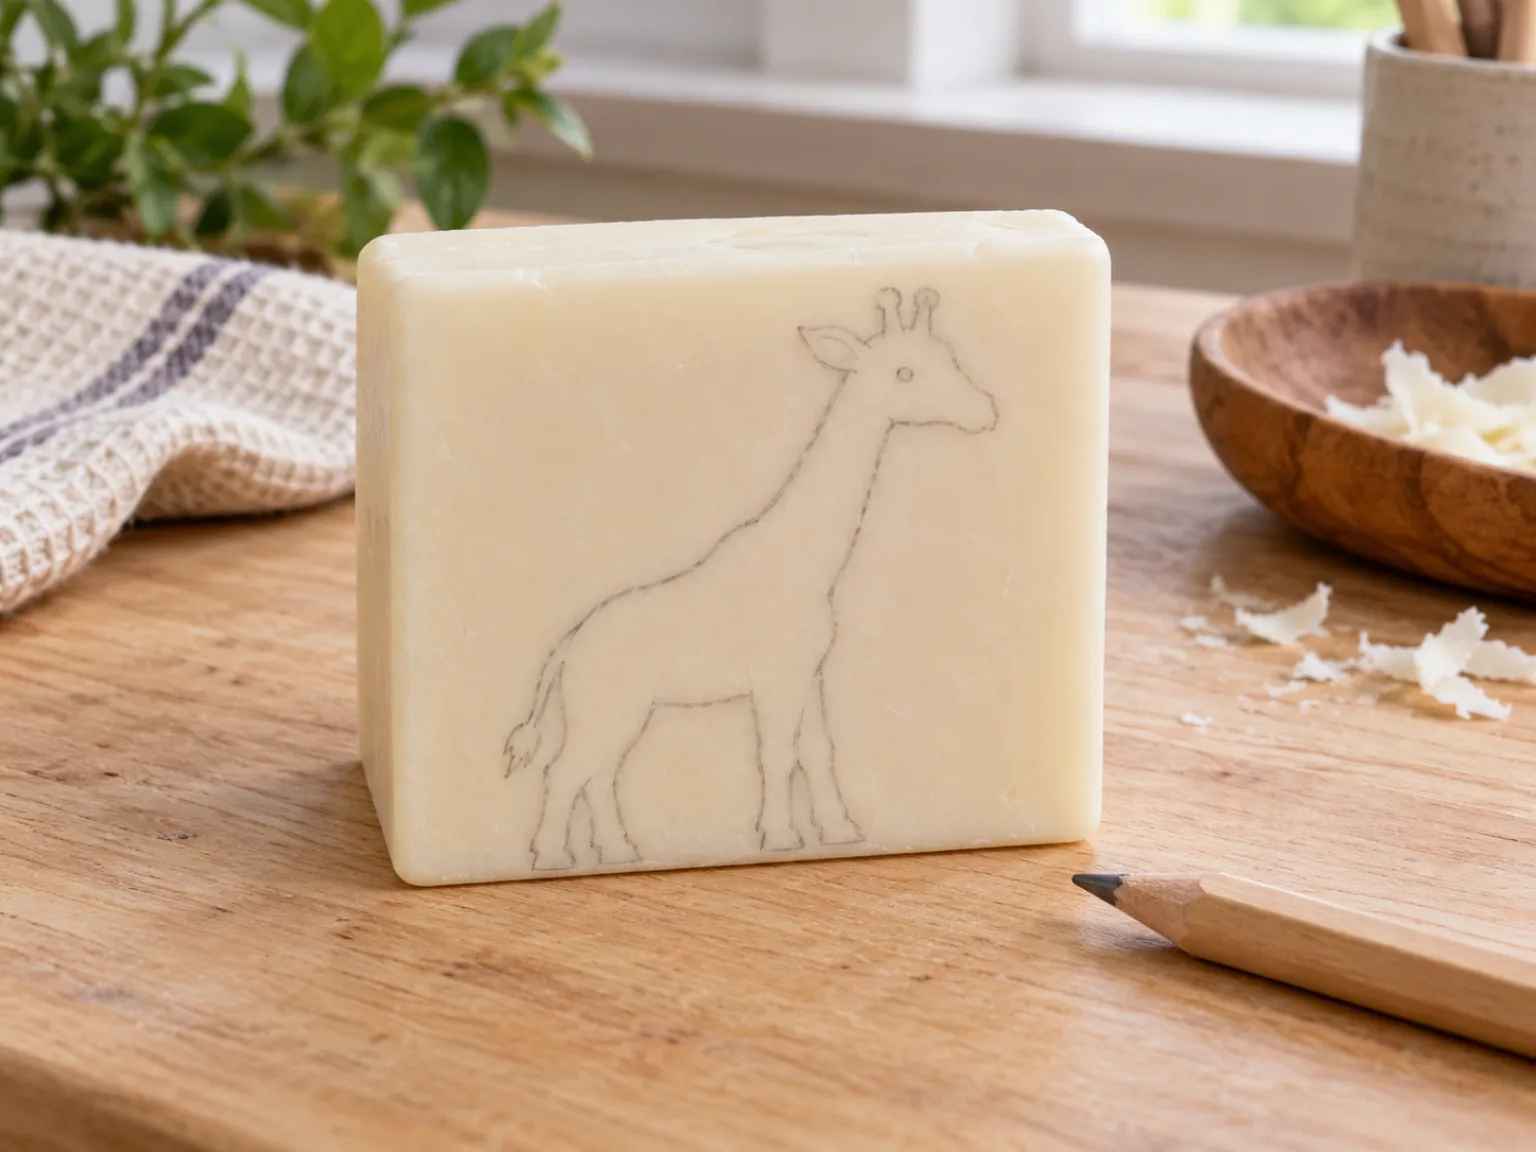
Draw a single side view on the soap: a rounded body, four short legs, a long neck, a small head, two short ossicones, and a tail. Make the neck broad and leave plenty of soap between it and the body. Skip small spots for now. A simple outline is easier to carve and less likely to snap.
If you are new to carving, use a basic oval for the body and a gently rising line for the neck. Keep the feet connected to the bar’s lower edge at this stage; separating every leg too early makes the figure fragile.
Step 2: Turn the bar into a chunky silhouette
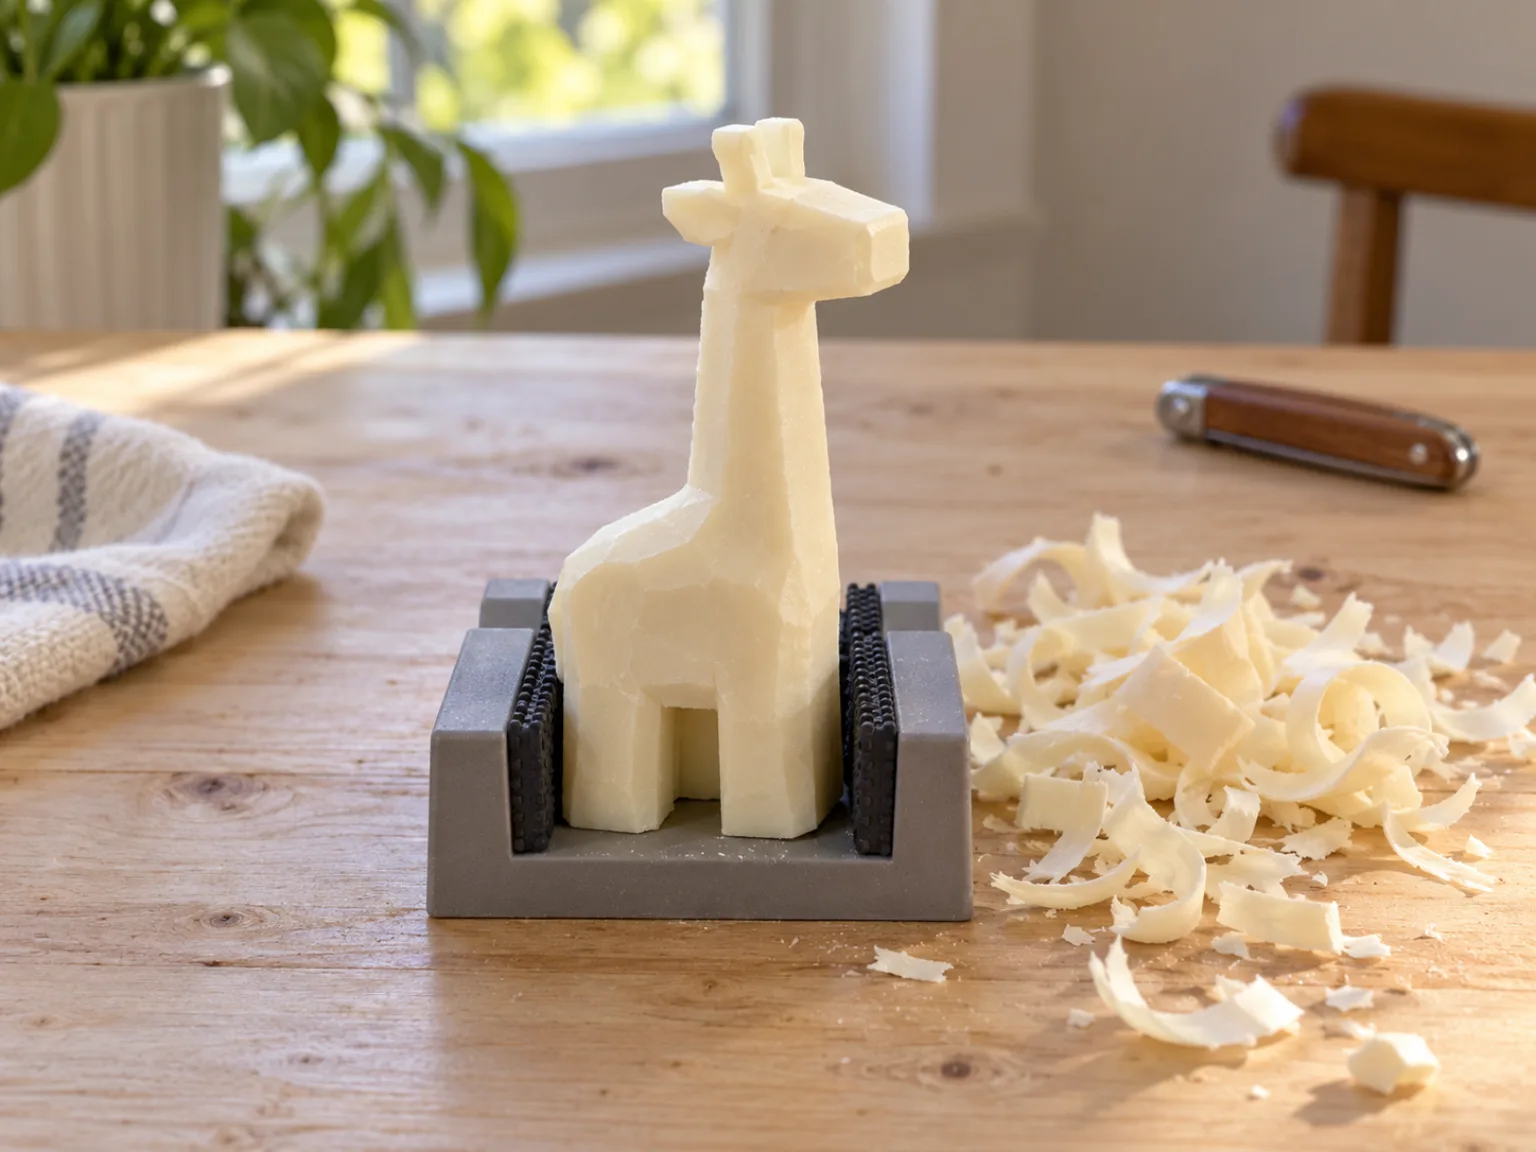
Secure the bar so it cannot roll. With the soap resting on the work surface, remove small amounts from the corners around the outline. Work gradually around the body, neck, and head. Leave extra material at the legs and neck; you can refine them after the overall shape is stable.
Use short, shallow strokes and direct each cut away from your supporting hand and body. Move the soap or reset your grip before changing direction. Do not carve toward your palm, and do not try to remove a large chunk in one push. If the soap shifts, stop and secure it again.
Step 3: Refine the neck, head, and body
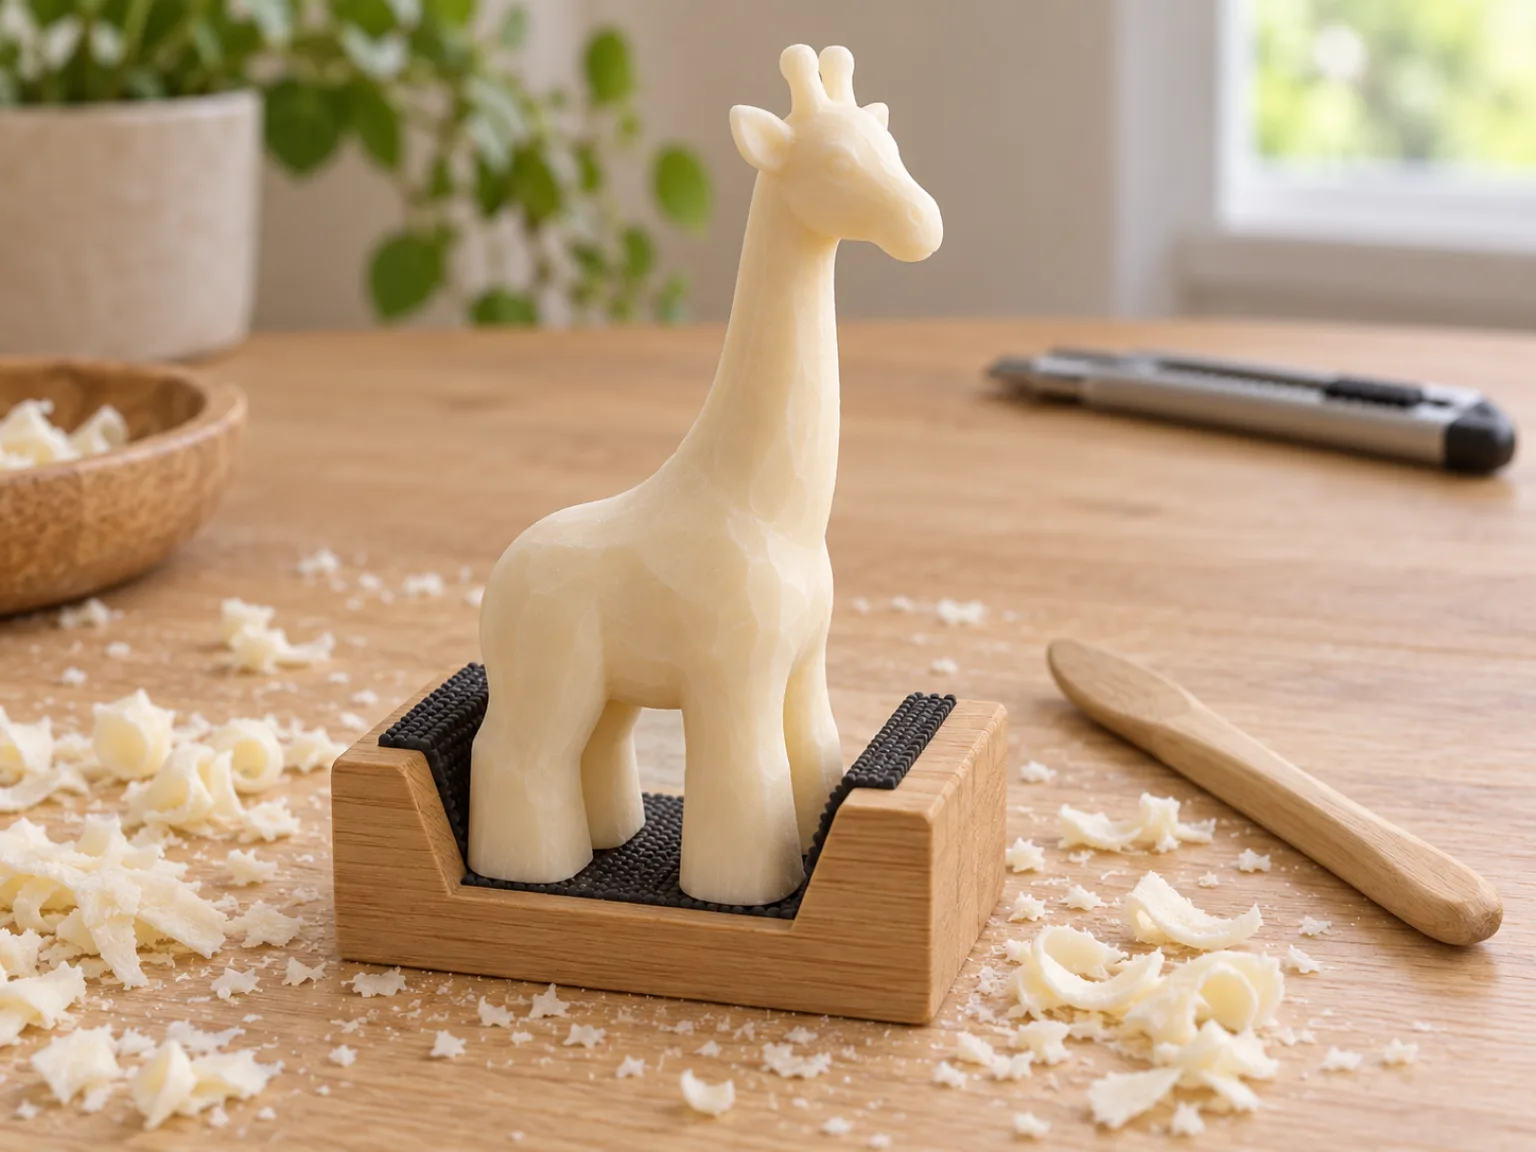
Round the body first, then gradually taper the neck while keeping it thick where it joins the shoulders. Shape the head as a small block with a short muzzle. Smooth the transitions with thin shavings rather than deep cuts. Keep all four legs broad enough to support the carving when it stands.
Look at the shape from the front and side as you work. If the neck seems too long or the body too narrow, remove a little from the opposite side to restore balance. A simplified animal can still look clear; recognizable proportions matter more than tiny details.
Step 4: Add spots and smooth the surface
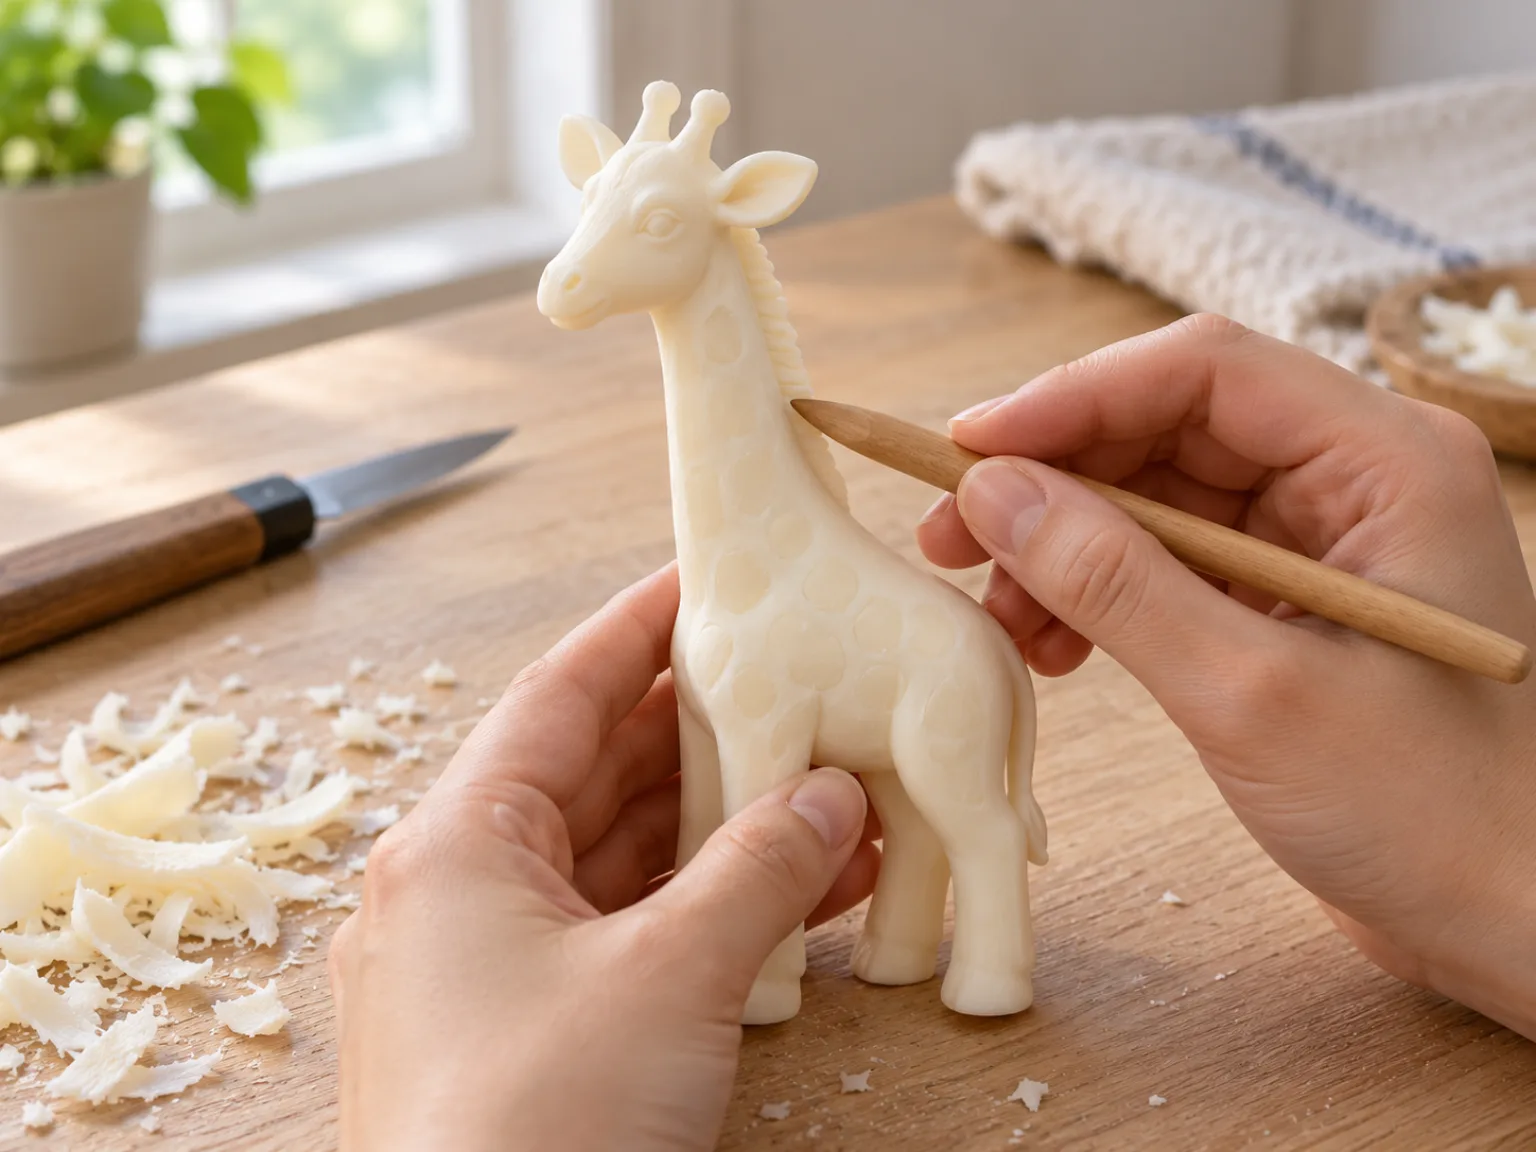
Use a blunt modeling tool to add shallow spots along the body. A few spaced marks are easier to control than a deep pattern. Add one small eye on each visible side and a short line for the mouth. Keep the details light so they do not weaken the neck or legs.
Brush away crumbs with a soft cloth. If an edge looks rough, smooth it with the blunt tool or a gentle pass from a safe scraper. Do not wet the soap to polish it; moisture can soften the surface and make handling slippery. Let the finished carving rest somewhere dry.
Fixes if the soap cracks or a detail breaks
- The neck starts to split: Stop cutting and leave more material around the join. A chunky giraffe is stronger than a very thin one.
- A leg snaps: Simplify the stance by leaving the legs connected to a low base, or use the remaining pieces for a smaller design.
- The soap crumbles: Try a firmer bar and smaller shavings. Different soaps have different textures.
- The spots look too deep: Smooth over the area lightly and restart with shallower marks.
For other animal projects, browse our animal soap-carving ideas. Beginners can also review the broader soap-carving guide before trying a more detailed sculpture.
Frequently asked questions
Can I use any bar of soap for a giraffe carving?
Start with a firm bath-soap bar that has a broad, flat side. Soap texture varies, so test a few shallow cuts in a corner before drawing the design.
Is this project made from soapstone?
No. This guide uses a bar of bath soap. Soapstone is a type of stone and is carved with different tools and safety practices.
What is the easiest way to carve the giraffe’s long neck?
Keep the neck thick where it meets the body, then taper it with small shavings. Avoid cutting all the way around a narrow neck before the body is shaped.
Is giraffe soap carving suitable for children?
The design can be simplified for a supervised craft activity, but the tool choice matters. Use blunt tools with children and have an adult supervise throughout. Our soap carving for kids guide covers age-appropriate setup.
Source
- University of Alaska Museum: Make a Soap Carving Activity — example beginner materials and supervision caution.