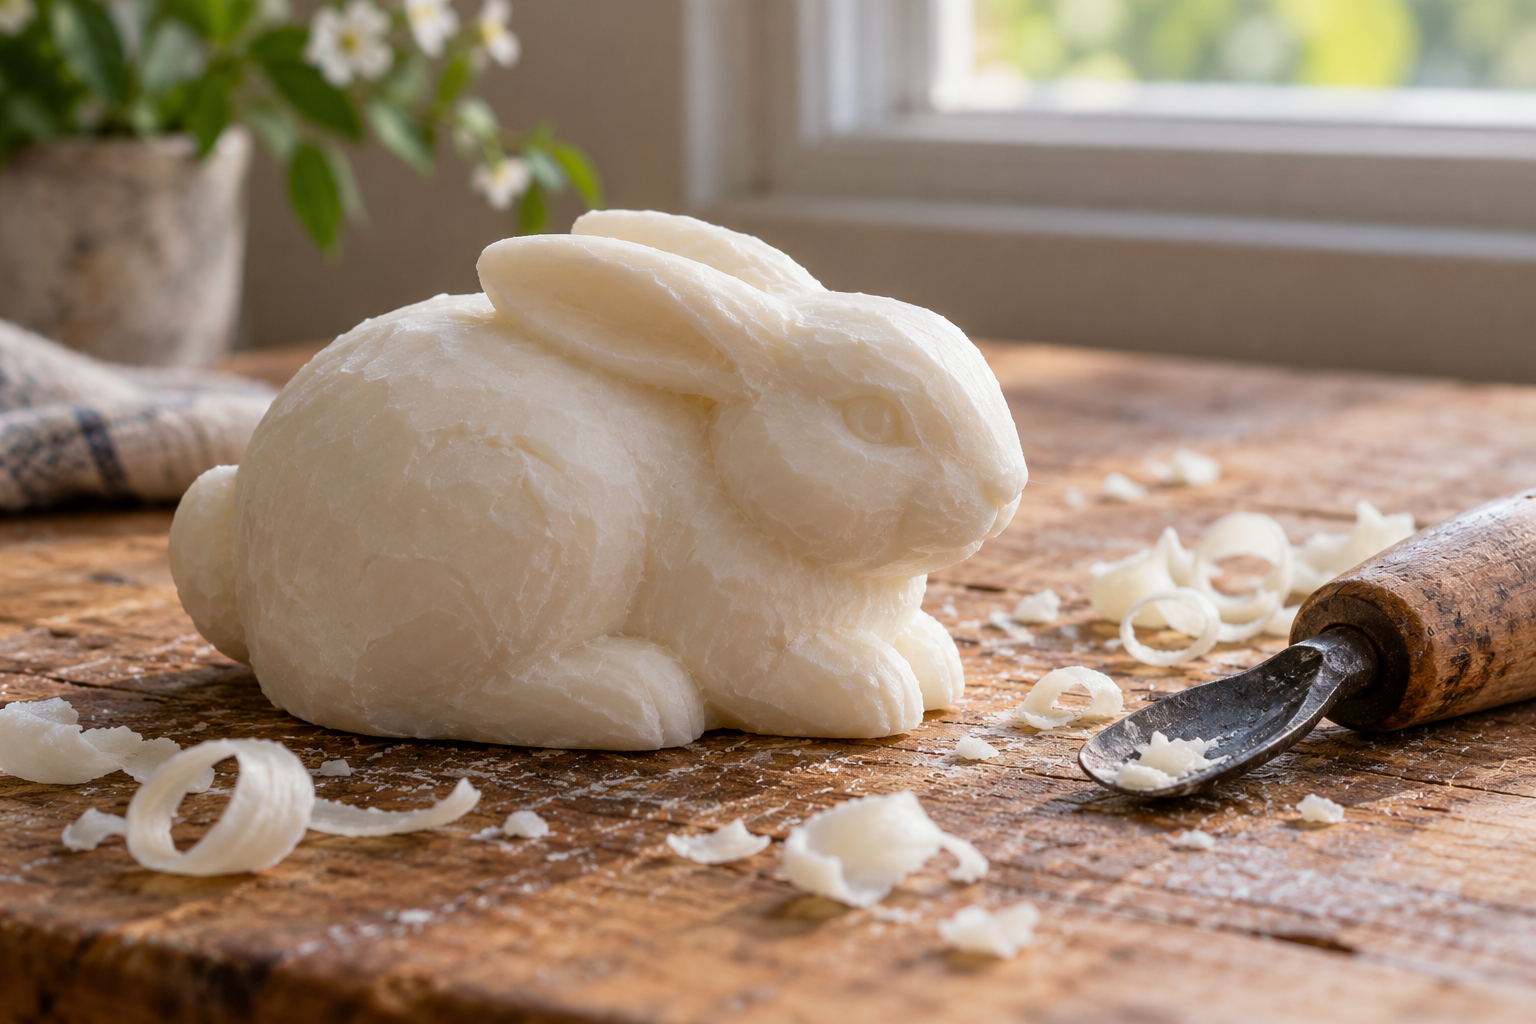
This rabbit soap carving tutorial shows how to carve a rabbit from soap in a crouching pose with a broad base, rounded body and short ears that remain connected to the head. This bunny soap carving silhouette is easier to handle than a figure balanced on narrow feet or long, separate ears. Work slowly, take off small curls rather than large chunks, and keep the blade moving away from your fingers.
Choose the soap and tools
Pick a clean bar without cracks, deep branding or a shape too narrow for the rabbit's body. A firm bar that shaves in small curls is easier to control than one that crumbles, but soaps behave differently. Try a few shallow cuts on an inconspicuous edge before committing to the design. A small carving knife or craft knife, a cutting board, a pencil or toothpick for marking, and a soft brush for crumbs are enough for a basic project. Keep the work surface stable; supervise children closely when sharp tools are present.
An experienced soap-carving artist's lop-rabbit tutorial demonstrates a useful sequence: outline the shape, remove excess soap, round the body, then refine ears and facial details. The project below adapts that approach to a compact crouching bunny with sturdier connected ears.
Shape a simple silhouette first
- Plan the pose. Look at the bar from the side and top. Sketch a low oval body, a small raised head, two short ears attached to the head and a wide base. Keep the tail shallow and connected to the body.
- Mark both sides. Draw a matching side outline on each face of the bar. A simple, balanced outline matters more than detailed eyes or whiskers.
- Remove the corners. With the soap supported flat, shave the outer corners in short, shallow passes. Turn the bar as needed instead of twisting your wrist around the blade.
- Separate head and body gently. Indicate the neck with a shallow groove; do not cut through the narrow bridge between the head and torso.
- Form the ears as one sturdy shape. Make two shallow grooves to suggest the inner split, leaving the outer edges and the base attached. Avoid cutting narrow gaps that could snap during handling.
- Round the back, chest and haunch. Remove small curls from both sides to keep the figure symmetrical. Leave enough soap under the belly to create a stable flat base.
- Add restrained details. Use a toothpick or knife tip to mark a small eye, nose and shallow tail curve. Deep cuts can weaken the figure, so stop once the features read clearly.
- Smooth and inspect. Brush off loose curls and soften sharp corners with tiny controlled shaves. Check that the rabbit stands without rocking and that the ears and tail remain firmly joined.
What if the soap cracks?
Stop carving and check whether the crack reaches a thin section such as an ear or tail. If it does, remove that detail or reshape the rabbit so the weak area becomes thicker; do not glue a crack and assume the piece will stay stable. A shallow surface mark can often be disguised by smoothing the nearby area, but a deep split is a sign to simplify the design or start with a fresh bar.
Make the carving more reliable
The main beginner mistake is trying to finish a thin ear, foot or tail before the body is shaped. Keep those features connected until late in the process, and use shallow cuts to define them. A low rabbit also survives handling better than a tall, narrow figure. If the bar starts to crumble, reduce the cut size and test another area rather than pressing harder.
For more project ideas, browse animal soap carving ideas. If you are choosing a bar for a future project, see the best soap for carving and review soap carving tools.
FAQ
Can I use any bar of soap?
Not every bar cuts the same way. Choose an intact bar with enough width for a broad body, then test a small shaving before drawing the rabbit.
How do I keep the ears from breaking?
Keep them short, connected to the head and thick at the base. Define their shape with grooves instead of cutting them free.
Is there a printable template for this project?
This article does not include a downloadable template. You can sketch a simple outline directly on the bar or consult the separate artist tutorial linked above.