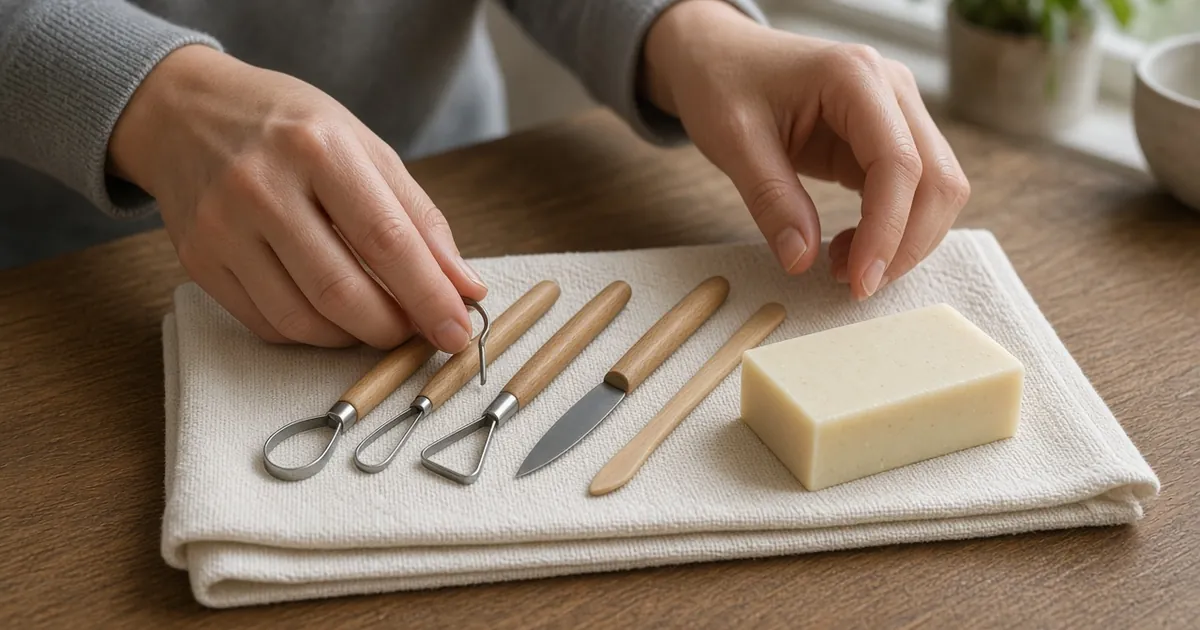
You need just four soap carving tools to start: a rounded butter knife to remove material, a soft pencil to draw, a toothpick for details and a dry towel to hold the bar. Most homes already have all four. Buy a soap or clay carving tool kit when a project keeps asking for the same mark: a loop tool for scooping, a V tool for grooves, a small knife for crisp edges. For children, choose a plastic or wooden kids’ set with no sharp blades.
Affiliate disclosure: some links on this page are affiliate links. If you buy through them, we may earn a commission at no extra cost to you. It doesn't change our picks; prices and availability are set by the retailer and can change.
The four-tool starter kit (free, from your kitchen drawer)
- Rounded butter knife (remove): broad outside cuts, corners and shallow bevels. Cut away from your supporting hand.
- Soft pencil (map): silhouettes and centerlines. Don’t press so hard that the line becomes a groove.
- Toothpick or wooden skewer (refine): eyes, scales, veins, and test lines before you commit with the knife.
- Dry tea towel (steady): a folded pad that catches shavings and lets you turn the bar.
Soap carving tools at home: everyday substitutes
Museum and classroom activities use household tools. The University of Alaska Museum of the North’s activity lists a butter knife, vegetable peeler, paper clip and toothpick.
| Household item | What it does | Best for |
|---|---|---|
| Rounded butter knife | Removes material, broad cuts | Every first project |
| Soft pencil | Outlines and centerlines | Mapping |
| Toothpick or skewer | Eyes, scales, guide lines | Details |
| Unbent paper clip | Thin grooves, light smoothing | Fur, feathers, kids |
| Popsicle or cuticle stick | Scraping, gentle shaping | Young children |
| Vegetable peeler | Smoothing broad curves | Rounding bodies |
| Smooth plastic knife | Gentle removal | Young children |
Soap carving tool types: what each one does
| Tool type | Good for | Buy it when | Watch for |
|---|---|---|---|
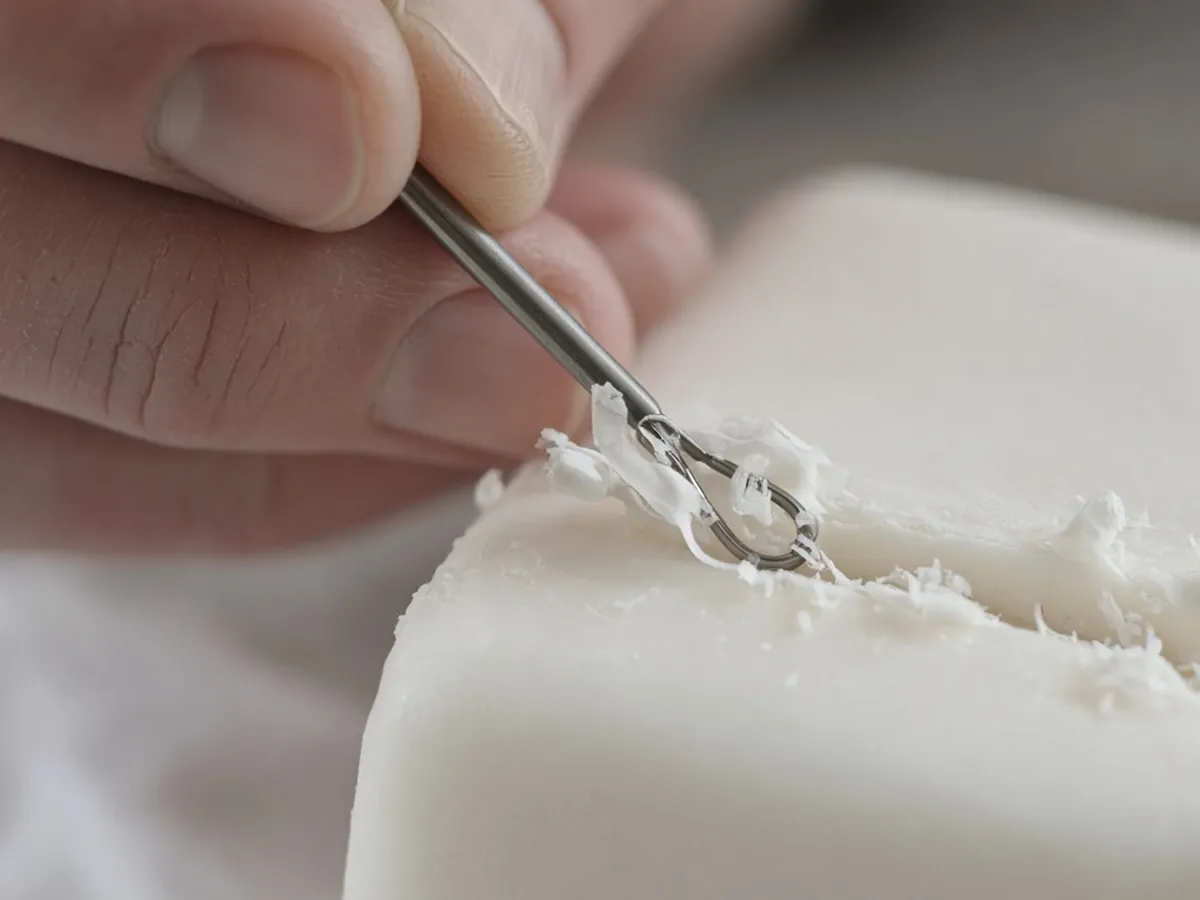
| Loop / ribbon tool (clay tool) | Scooping, hollowing, rounding bodies | You keep rounding with the knife tip | Removes material fast on soft bars |
| Carving knife (small, straight or angled) | Crisp edges, stop cuts, fine trimming | You can already control a butter knife | Least forgiving. Adults and older teens only |
| V tool | Narrow grooves, fur, lettering | You keep scoring the same line with a toothpick | Deeper pressure means a harder-to-fix cut |
| U gouge | Rounded channels, petals | You’re shaping petals or relief shadows | Keep strokes short and the bar supported |
| Kids-safe plastic / wooden set | Scraping, simple shaping | Children are carving | Still needs adult supervision |
Best soap carving tool kits (by type)
These are kit types to shop for. Each button opens the same search for soap carving tools. Use the notes under each type to pick a listing, and check its tool count and contents.
1. Clay and soap loop-tool set: best first upgrade
Look for: several loop sizes (small, medium and large ribbon loops), double-ended handles, and a roll-up case. Usually sold for clay but works well on soap. Tool count: check the listing, and make sure the sizes really differ.
2. All-in-one carving set (loops, knives and gouges): best for adults
Look for: a mix of loops, one or two small knives, a V tool and a U gouge, plus edge covers and a case. Avoid sets padded out with many near-identical tools. Tool count: check the listing. More pieces isn’t better if many are duplicates.
3. Kids’ soap carving kit (plastic or wooden tools): best for children
Look for: only plastic or wooden tools (no metal blades), chunky handles, and ideally soap bars included. Check the age guidance on the listing.
4. Wooden modeling tool set: best gentle option for classrooms
Look for: smooth wooden spatulas and pointed shapers. They’re forgiving, cheap to buy in multiples, and good for scraping and detailing.
5. Detail knife or V-tool pack: best for relief and lettering
Look for: a small, comfortable handle, blade covers, and a V-tool profile. Buy this only after you know you need crisp grooves.
Want a kit that includes soap and supplies? Compare bundles in our guide to soap carving kits and supplies.
Build your beginner kit in three steps
- Start free: butter knife, pencil, toothpick, towel and a firm plain bar (see the best soap for carving).
- First purchase: one small loop-tool set. It covers scooping and rounding, the marks a butter knife does worst.
- Second purchase (only if needed): a V tool for grooves or a U gouge for petals, chosen by the mark you keep repeating.
Buy the smallest tool that solves the problem. A set with many identical sizes looks like good value but leaves you unsure which edge to reach for.
Soap carving tools for kids
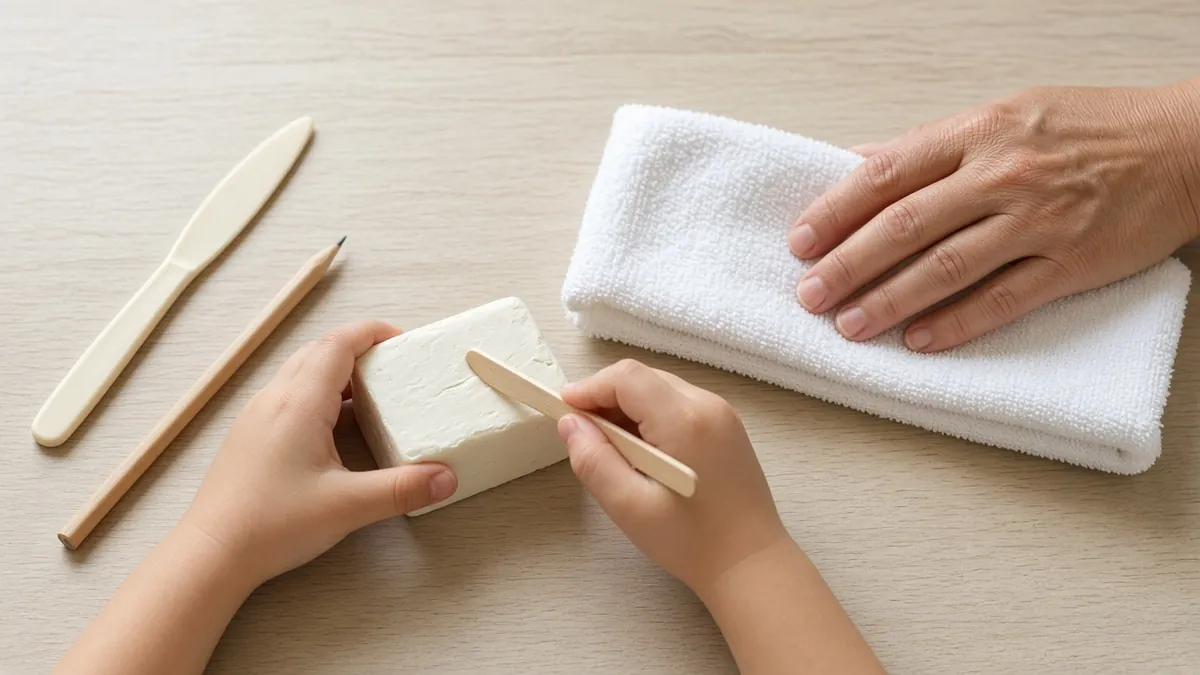
- Ages roughly 5–8 (adult beside them): popsicle or cuticle stick, smooth plastic knife, toothpick, pencil, towel, or a plastic kids’ kit.
- Older children (actively supervised): add a rounded butter knife, a paper clip and a vegetable peeler. Wooden modeling tools also work well.
- Keep out of a child-led kit: craft knives, sharp blades and metal gouges.
These age bands are a starting point. Judge by the child’s grip and attention. See soap carving for kids and soap carving safety.
Set up a calm bench
Put the soap in the middle of the towel, the pencil and pick above it, and the knife to one side where you can see its edge. Work on a stable table, cut away from your supporting hand, and cover sharp tools when idle. Save the offcuts too: here’s what to do with soap carving scraps.
Try your kit on a first project
- A simple snowflake: line-and-shadow practice
- Fish soap carving: a 15-minute silhouette
- Easy soap cat carving: toothpick eyes and whiskers
- More ideas: soap carving techniques
FAQ
What tools do you need for soap carving?
A rounded butter knife, a soft pencil, a toothpick and a dry towel. Together they cover every beginner project. Loop tools, V tools and gouges are optional upgrades.
What can I use as soap carving tools at home?
A butter knife, pencil, toothpick, unbent paper clip, popsicle or cuticle stick, vegetable peeler and a tea towel all work.
What is the best knife for soap carving?
For beginners, a rounded butter knife: it’s familiar and forgiving. A small carving knife cuts crisper but is less forgiving. Use it only with experience, and always cut away from your other hand.
Are soap carving kits worth it?
Yes, once you know which marks you repeat. A small loop-tool set is the most useful first purchase. Large sets are worth it only if most of the tools are genuinely different.
Do I need soap carving gouges?
No. V tools and U gouges are optional upgrades for grooves and rounded channels.
Can I use clay tools for soap carving?
Yes. Clay loop and ribbon tools and wooden modeling tools work well on soap, and they’re often what “soap carving kits” contain.
What are safe soap carving tools for kids?
Popsicle or cuticle sticks, smooth plastic knives, toothpicks, pencils, plastic or wooden kids’ kits and, with active supervision, a rounded butter knife. Keep sharp blades out of children’s kits.