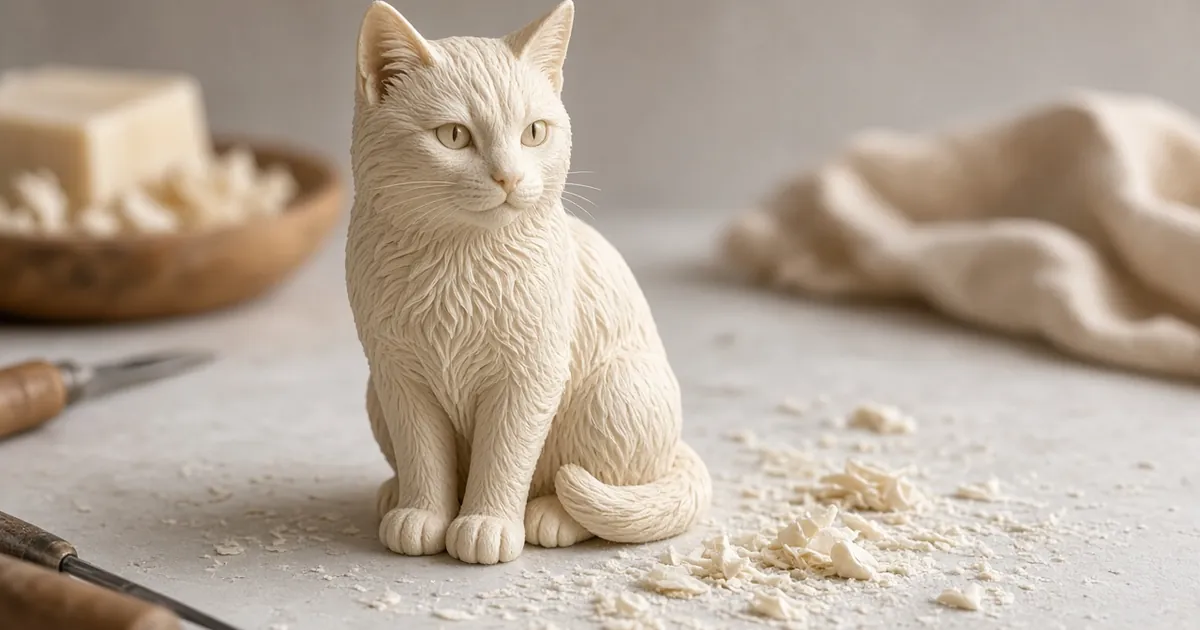
To carve a cat from soap, draw a side profile on the broadest face of a firm bar, cut away the outside in short passes, then round the edges and press in a tiny face with a toothpick. It takes about 25 minutes with a rounded butter knife. The secret is keeping the ears short and thick and the tail base wide. Those are the parts that break.
This easy soap cat carving is a good first animal: four calm stages, simple tools and no tiny whiskers required. When you’re ready, the same cat can grow into a small three-dimensional cat soap sculpture (see Make it a cat soap sculpture).
| Project | Level | Time | Soap | Tools |
|---|---|---|---|---|
| Soap carving cat | Easy | ~25 min | One firm, plain bar | Butter knife, pencil, toothpick, towel |
What you need
- One firm, unscented bar: dry, with clean corners and a broad face. See the best soap for soap carving.
- A rounded butter knife: its blunt edge makes controlled, shallow silhouette cuts.
- A soft pencil: map the cat before any soap has to leave.
- A toothpick or wooden skewer: for two eyes, a nose and one tail or paw line.
- A dry tea towel: keeps the bar steady and catches curls.
That’s the whole kit. More options are in our guide to soap carving tools.
Before you draw, test a small curl on the underside. If the shaving turns to dust, use lighter pressure and keep the ears rounded. If it smears, wipe the bar dry and wait until the surface feels firm again.
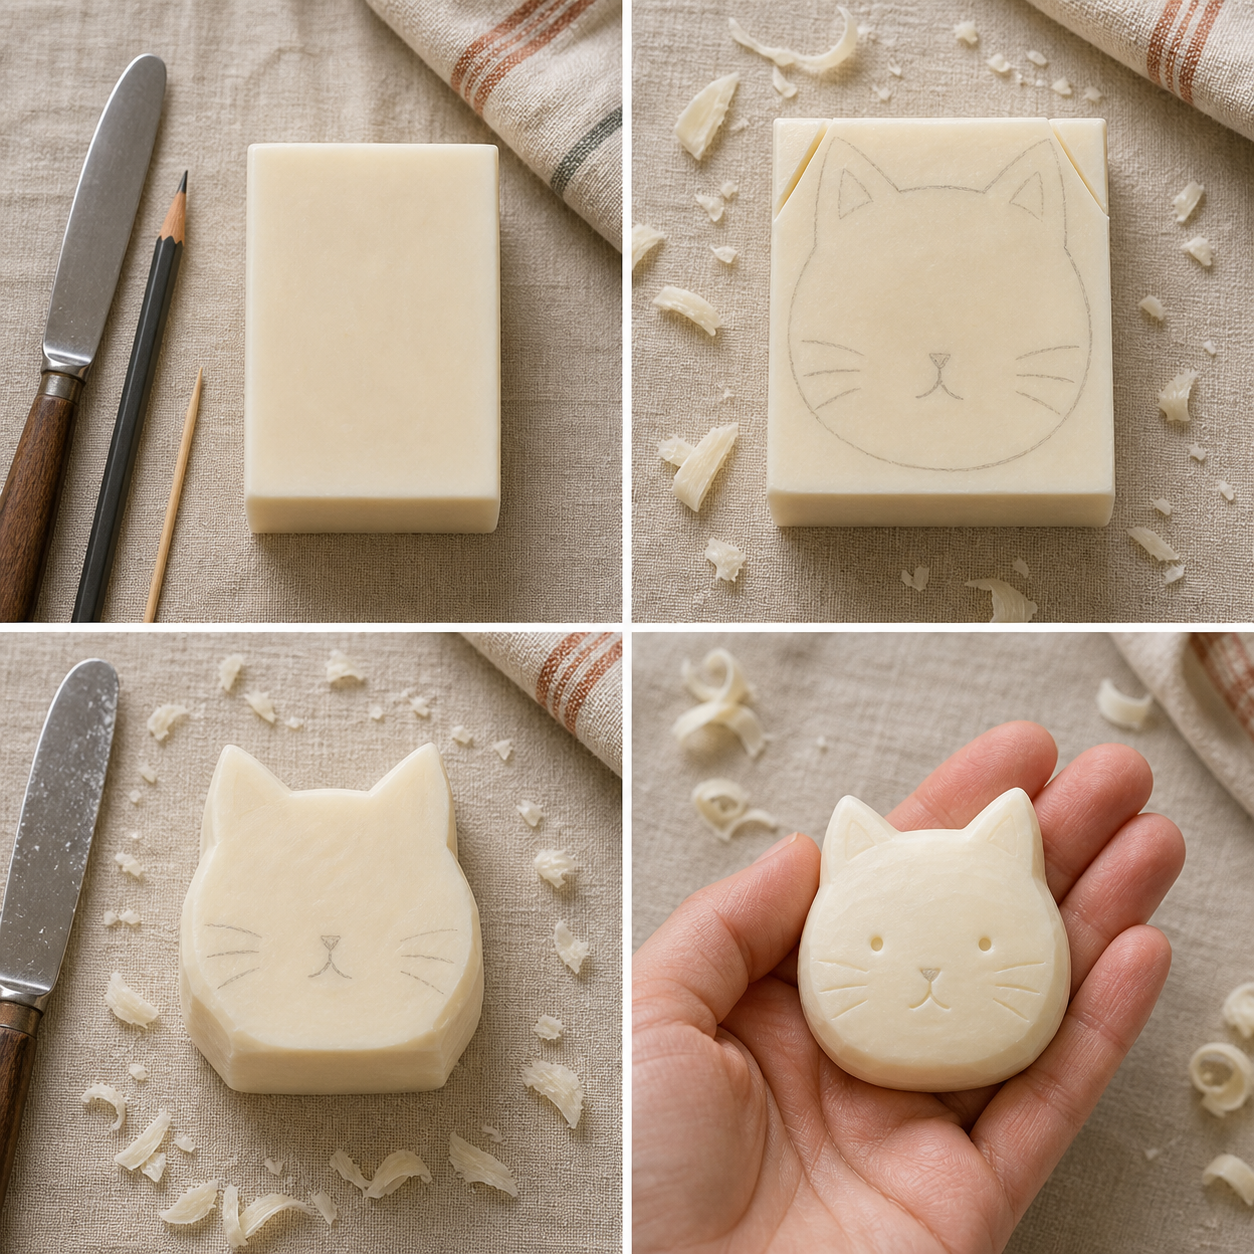
How to carve a cat out of soap in 4 steps
Step 1: Prepare the bar
Dry the bar and lay it lengthwise on the towel. Test a shallow curl on a lower edge. A good bar resists a little and leaves a clean shaving, not dust or smear. Keep the full thickness, because the extra soap gives you something to hold while the shape emerges.
Look for: a firm surface that keeps its corners after a light touch.
Step 2: Draw the cat in one clear line
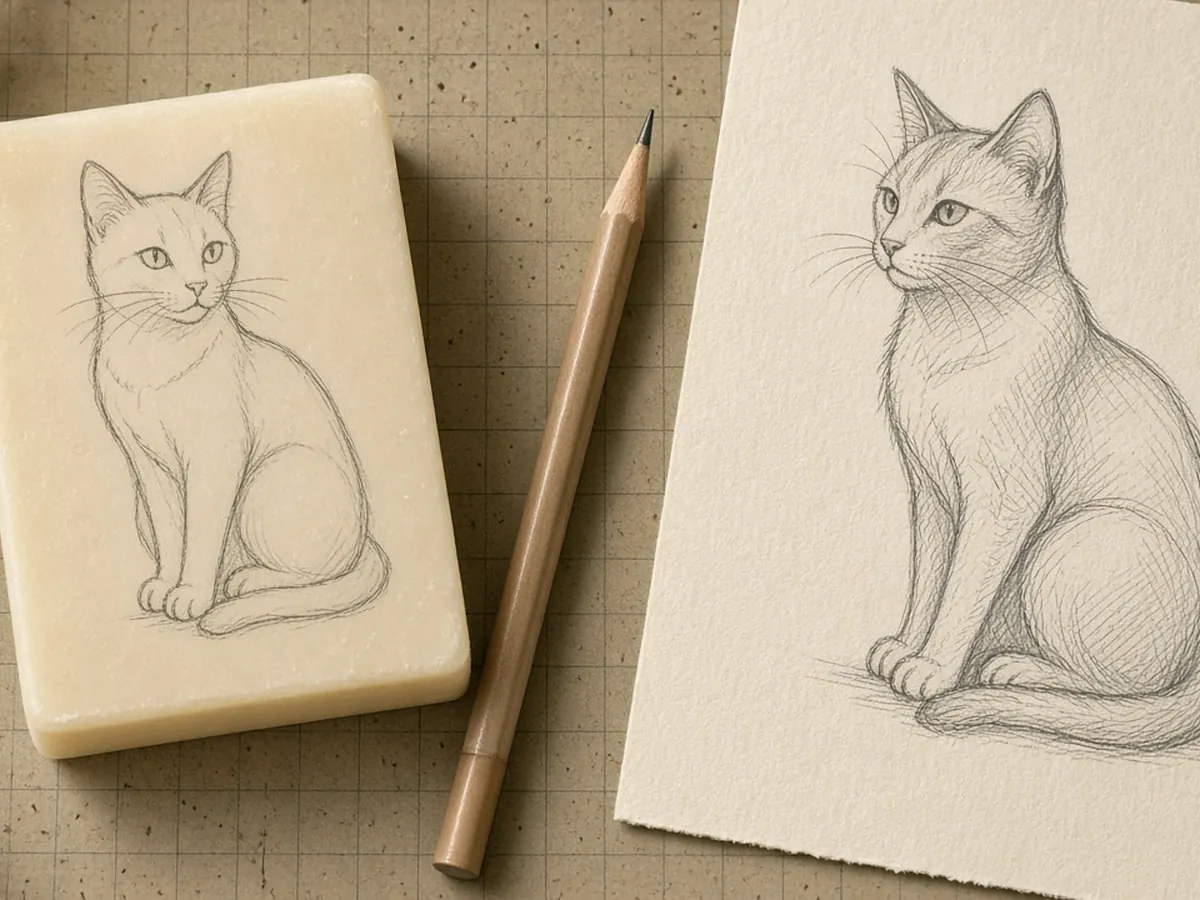
On the broadest face, sketch a side profile that fills about two-thirds of the bar: rounded head, two short ears, straight back, small belly and a tail curving away. Leave a finger-width of soap around it, especially between the ears and at the tail tip. If it looks narrow on paper, widen it now.
Prefer to trace? Use the outline below, or one of our printable soap carving templates.
Step 3: Cut the outside, not the character
Lay the bar flat and shave away the four corners first. Work toward the pencil line in short passes, turning the soap at each curve. Cut around the head, back, belly and tail, staying just outside the mark. Keep the knife moving away from your fingers. When the profile reads as a cat from arm’s length, stop.
Remember: a clear silhouette beats a delicate ear or a perfectly even back.
Step 4: Round the edges and stop while it’s strong
Turn the cat on its edge and bevel the top and belly corners once, leaving the underside flat so it can sit. Press in two eyes and a small nose with the toothpick. Add a paw line only if the body feels sturdy. Brush off crumbs, check both sides, and stop when it feels comfortable to hold. Whiskers are optional; the ears and tail do the talking.
Finished means: the figure still feels solid when you lift it by the body, not the tail.
Let the profile do the talking
A cat reads clearly in profile because a few shapes carry the whole drawing: the ear peaks, the small step from forehead to muzzle, the long back and the direction of the tail. You don’t need to hollow the body or make it anatomically exact. Leave the biggest uninterrupted mass through the shoulders and belly so you can turn the bar without pinching fragile parts.
Let the bar’s proportions decide the pose. A broad face suits a compact sitting cat with a short tail. A long bar suits a stretched back and a gently hooked tail.
Cat soap carving ideas: three variations
- Alert cat: two low ear peaks and a tail lifted into a simple hook
- Loaf cat: no separate legs, a rounded belly and tiny ears. Best for small or thin bars
- Stretching cat: a longer bar and an extended back, with the tail base kept broad
Make it a cat soap sculpture
The steps above make a sturdy profile carving. For a cat soap sculpture you can look at from every side, use the same bar but think in two views:
- Pick a thick bar. You’ll need depth for the head and haunches. A deep, guest-size or “bath size” bar works better than a slim one.
- Draw the side view on the broad face and the front view on the end. The front view is just a rounded head on a pear-shaped body.
- Block out the side view first (Steps 2–3 above), then the front view. Remove the corners from the front so the body tapers toward the head.
- Round everything a little at a time. Turn the cat constantly and take thin curls from the corners left by both views, never from the middle of a face.
- Keep the tail wrapped around the body. A curled tail resting against the side is far stronger than one that sticks out.
A sitting, loaf-shaped cat is the easiest 3D pose: ears as small bumps, front paws as one shallow line, tail curled along the base.
Rescue plan: when the cat gets fragile
A first cat usually gets into trouble at its thinnest places: the ears, the tail and the space under the belly. When something feels fragile, shorten the idea instead of cutting deeper.
| Problem | Fix |
|---|---|
| The ears crumble | Round the tips into small bumps, widen the gap between them and leave more soap at the base |
| The cat looks like a loaf | Don’t hollow the body. Sharpen the head-to-neck change with one shallow cut, then suggest a front leg with a single line |
| The tail cracks | Stop cutting the curve. Shorten the tail into a raised nub or hook and smooth the break into the new outline |
| A chip lifts from the cheek | Don’t press it back. Brush it away, redraw a shorter head or broader back, and recut only where needed |
More fixes for cracks and smears: soap carving problems and fixes.
Bench safety
Use a rounded butter knife, cut away from your body, and keep the hand holding the bar behind the blade’s path. Work on the towel, not in your palm, and pause if your grip or wrist gets tired. Keep soap chips away from eyes, mouths, pets and small children. Wash your hands and wipe the table when you finish. Full guidance: soap carving safety.
FAQ
What soap is best for a cat soap carving?
A firm, plain, opaque bar with clean corners. Unscented soap is the easiest for a close session, and a dry surface makes pencil marks and shallow curls easier to read. Avoid bars that feel wet, sandy, waxy or crumbly.
Do I need a carving knife to carve a cat from soap?
No. A rounded butter knife is enough for the silhouette, and a toothpick makes the tiny face. A sharper blade adds risk without adding a necessary step.
How do I keep the cat’s ears from snapping?
Keep the ears short, leave a generous border around them and remove the soap between them gradually. Keep their bases wide and take detail from the tip rather than pressing into it.
How do I make a 3D cat soap sculpture instead of a flat cat?
Use a thick bar, draw a side view on the broad face and a front view on the end, block out the side view, then the front view, and round the corners a little at a time. Wrap the tail against the body so it doesn’t break.
When should I stop carving?
Stop when the side profile is clear, the body feels solid and the face reads with just a few marks. Let it air-dry on the towel overnight.
How can I give my soap cat a different personality?
Change one signal at a time: lower one ear for a curious cat, shorten the tail into a kitten-like nub, or add one shallow belly line for a seated pose.
Keep making small forms
- A pocket fish: silhouette before texture (15 min)
- A friendly dog: the same profile logic with floppy ears
- A friendly turtle: relaxed, repeating texture (25 min)
- Animal soap carving ideas for beginners: choose your next creature
- How to store and display a soap carving