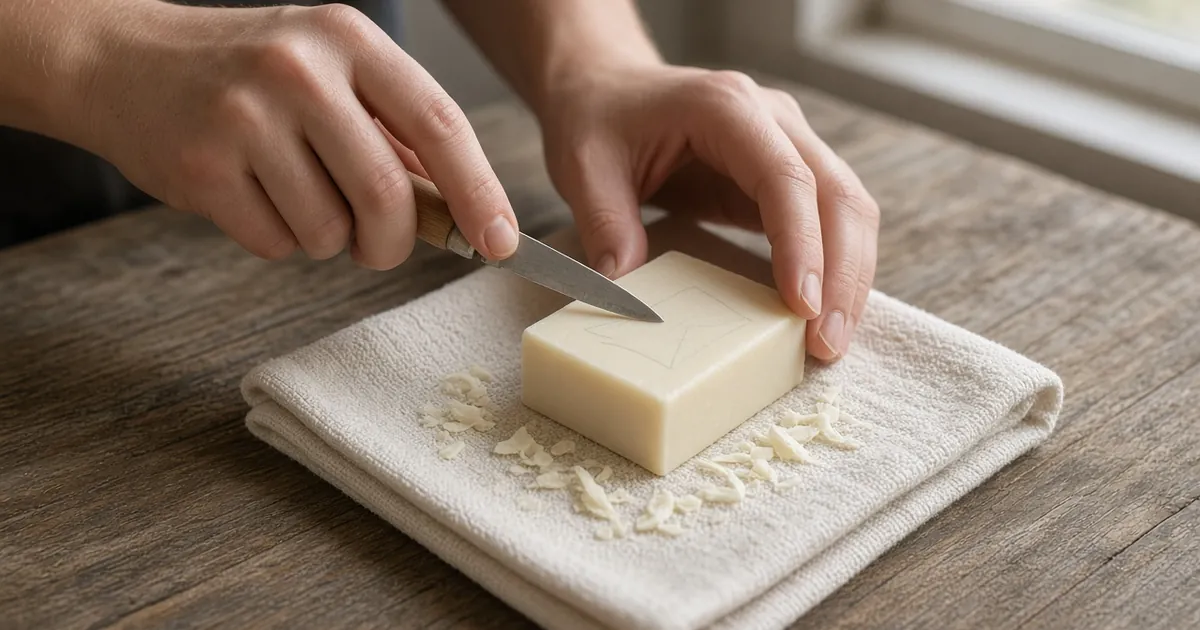
Most soap carving uses a handful of techniques in a fixed order: transfer a pattern, clear the outside with stop cuts and push or pull cuts, round the form, then lower a field for relief, add texture and smooth. Each pass has one job. If you texture before the silhouette is stable, the surface gets busy and the form gets weak. If you smooth too early, you keep touching the bar until the corners disappear.
New to carving? Start with soap carving for beginners and read soap carving safety before the first cut. This page is the technique reference you come back to.
Before you cut: test the bar and set the order
Make a test curl on an unused corner or a spare bar. The shaving should lift away cleanly. A shiny smear means the bar is soft or warm, and a crumbly edge means the pressure or angle is too ambitious. Change one variable at a time.
Then work in this order:
- Transfer a generous pattern.
- Remove the outside waste in small passes (stop cuts, push and pull cuts).
- Round and shape the main form.
- Add only the shadows the shape needs (relief, scooping).
- Texture and finish last.
After each stage, brush the face, turn the bar and look from arm’s length. That reset catches a lopsided silhouette before detail makes it harder to change. A project can stop after any stage and still look finished.
Grip and hold: turn the soap, not your wrist
- Support the bar on a folded towel on a stable table, not in your lap. The towel keeps the bar from sliding as you turn it.
- Hold the tool like a pencil for detail and a little further back for longer strokes. Short, controlled passes beat one hard push.
- Keep the non-cutting hand out of the tool’s path. Hold the bar from the side or behind the cut, never in front of the edge.
- Rotate the bar so the tool keeps moving away from you. A new position is usually more useful than more pressure.
The safety guide covers hand position, kids and cleanup in detail.
Pattern transfer: score a map
Draw the outline with a soft pencil on the broad face, then trace it lightly with a toothpick if the surface is pale or the line keeps fading. Keep the pattern broad and leave a border around it. It’s a guide, not a permanent contract. Printable soap carving templates give you outlines sized for a bar.
Stop cuts
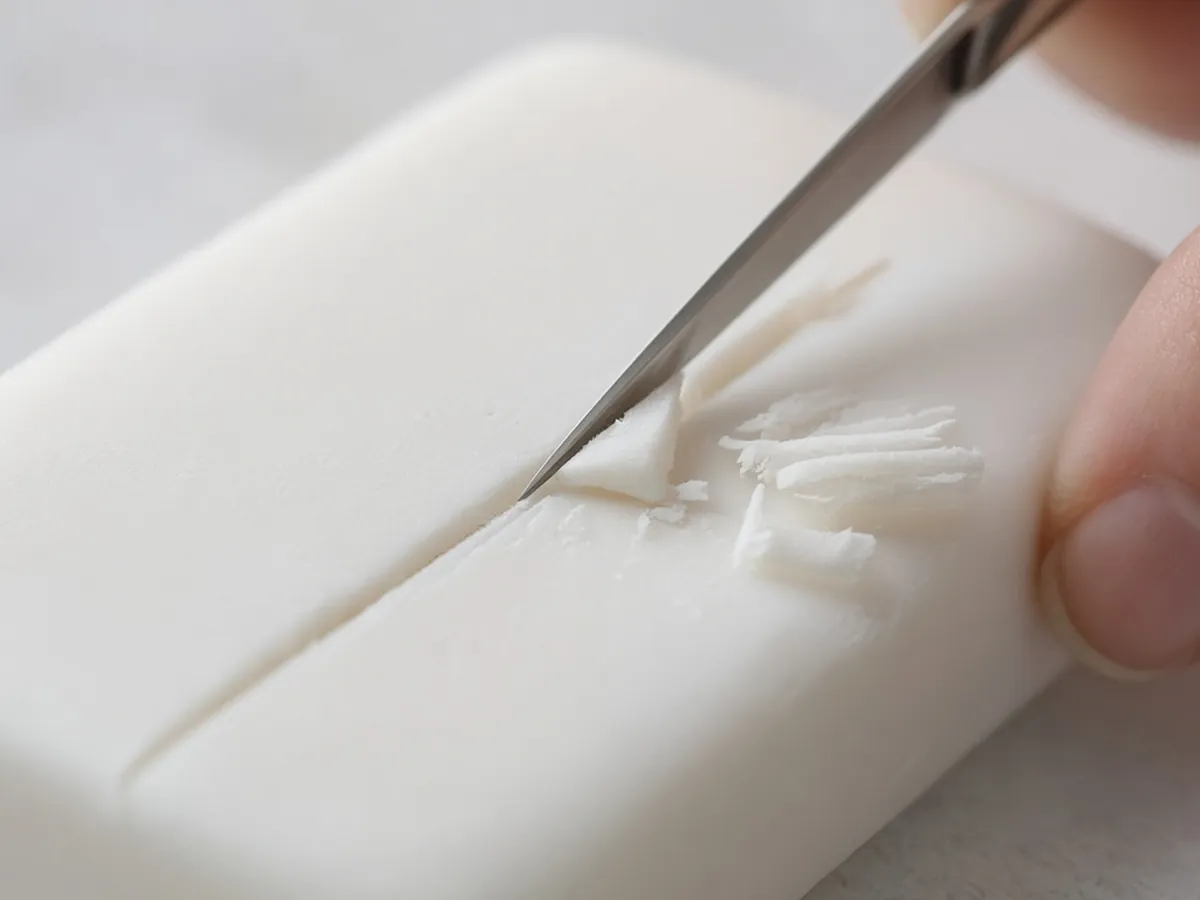
A stop cut is a straight-down cut along a line. A second, angled cut comes in toward it, and the small wedge between them lifts out and stops cleanly at the first cut instead of running on into the design. Woodcarvers use the same idea, and relief carvers treat the outline trench itself as a stop cut.
How to do it:
- Press the knife tip straight down on the waste side of the pencil line. Go shallow. You can deepen it later, but you can’t undo a deep cut.
- Make a second cut from the waste side, angled toward the bottom of the first.
- Lift the wedge out. If it doesn’t release, make the first cut a little deeper rather than levering the knife.
- Repeat along the line, working in short sections.
Use stop cuts wherever two surfaces meet: around a raised shape, at the base of an ear or fin, and at inside corners.
Push cuts and pull cuts
Push cut: the blade moves away from you, driven by the carving hand. You can steady and guide the back of the blade with the thumb of the other hand. Use it for removing the four corners, roughing out the silhouette, and long flat planes. It’s the safest default, especially for kids.
Pull cut (paring cut): the blade moves toward the thumb of the carving hand in a short, controlled stroke, like peeling. It gives fine control on small curves and edges. Keep the thumb below and behind the line of the cut, use short strokes, and stop before the blade reaches the thumb. Skip pull cuts with children and use push cuts plus rotating the bar instead.
Roughing out with both: clear the outside by taking off the corners first, then work toward the line with short cuts. Leave the pencil mark until the shape reads from a distance. Cutting right on the line at the start makes a small design smaller before you understand it.
Scooping
Scooping removes material from a hollow: the inside of a petal, the space under a chin, the bowl of a shell. Use a loop tool, the curved tip of a spoon or a small gouge-style tool, and scoop from the edge toward the center in shallow passes so the rim stays intact. Stop when the hollow casts a clear shadow. Deeper is rarely better in soap, and it thins the walls.
Rounding and shaping
Rounding turns a flat-sided blank into a form with volume:
- Bevel the outside shoulders with light passes so the main form catches light.
- Take corners off in steps. Remove each corner as a small flat facet, then cut the new corners until the edge reads as round.
- Compare the front and side views after every pass. A shape that looks deep from above may be almost flat in profile.
- Leave thickness at tips, bridges and narrow joins (tails, ears, feet, points) until the final inspection.
This is the core skill for carving in the round, such as the fish or turtle.
Relief carving: outline, set down, model
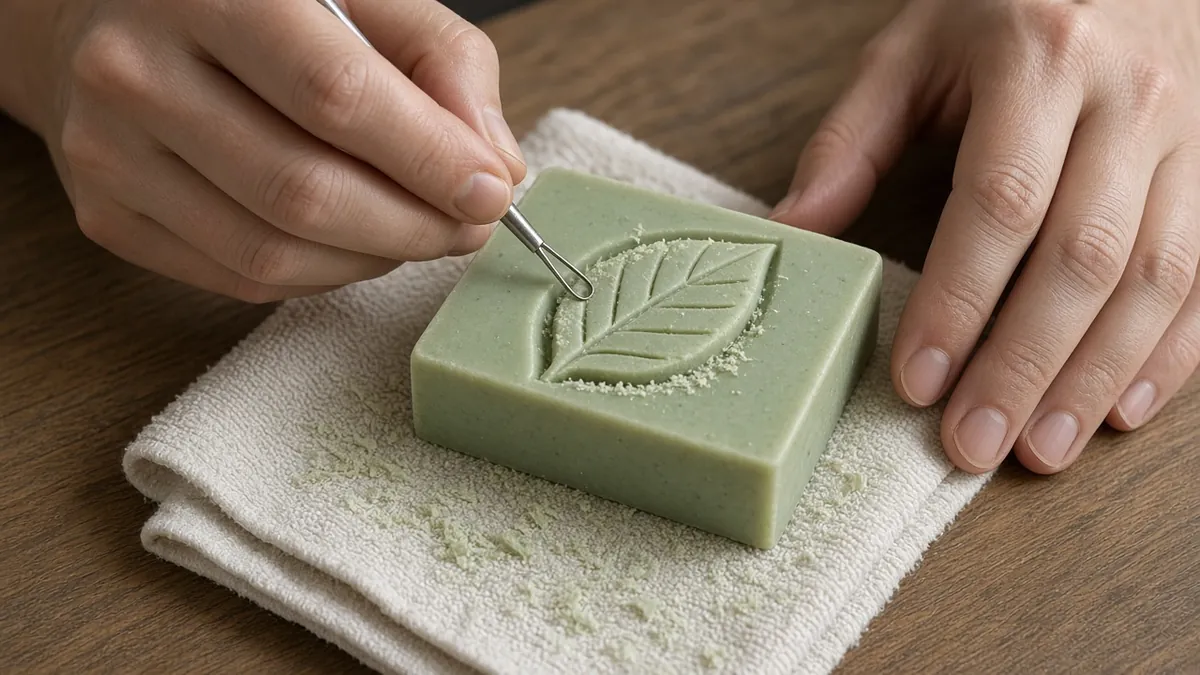
In relief carving the design stays raised above a lower field, and light does the explaining. You create it by lowering the area around the shape, not by digging into the shape itself. A very small change in depth can already cast a visible shadow.
- Outline (lining in). Cut a shallow trench just outside the design line, on the waste side, using stop cuts or a narrow V-shaped groove. It defines the edge and protects the raised shape. Ignore small details for now.
- Set down (lower the field or ground). Lower the background from the outer edge toward the outline in thin passes, never deeper than the outline cut. Then deepen the outline slightly and repeat. Keep the field as even as you can, because an even ground makes the raised shape read clearly.
- Clean the wall. Trim the edge of the raised shape so it meets the ground in a clean junction, sloping out slightly rather than undercut. A slight slope is stronger in soap.
- Model. Now shape the raised part: round its edges, tilt planes so they catch light, and separate overlapping parts (petals, leaves) with small stop cuts.
Keep the raised area wide and supported. Relief suits snowflakes, leaves, flowers and graphic lines. The rose uses shallow relief in three readable layers.
Chip carving is a related surface technique: a series of small wedge cuts (pairs or triplets of angled cuts meeting at a point) that make a pattern. It’s easy to overwork, so try it only after the main shape is stable.
Texturing and detail
- Lines and veins: drag a toothpick or the knife tip along a pencil line in one light pass, then a second pass to deepen. Two light passes look cleaner than one hard one.
- V-grooves: two shallow angled cuts meeting at the bottom, for feather lines, hair or wood grain.
- Dots and eyes: press a toothpick or a small round tip straight in.
- Repeated marks: scales, bark or petals look better slightly irregular. Space them by eye.
Add one quiet detail rather than covering every surface. Texture belongs after the outline, volume and major shadows already work.
Smoothing and finishing
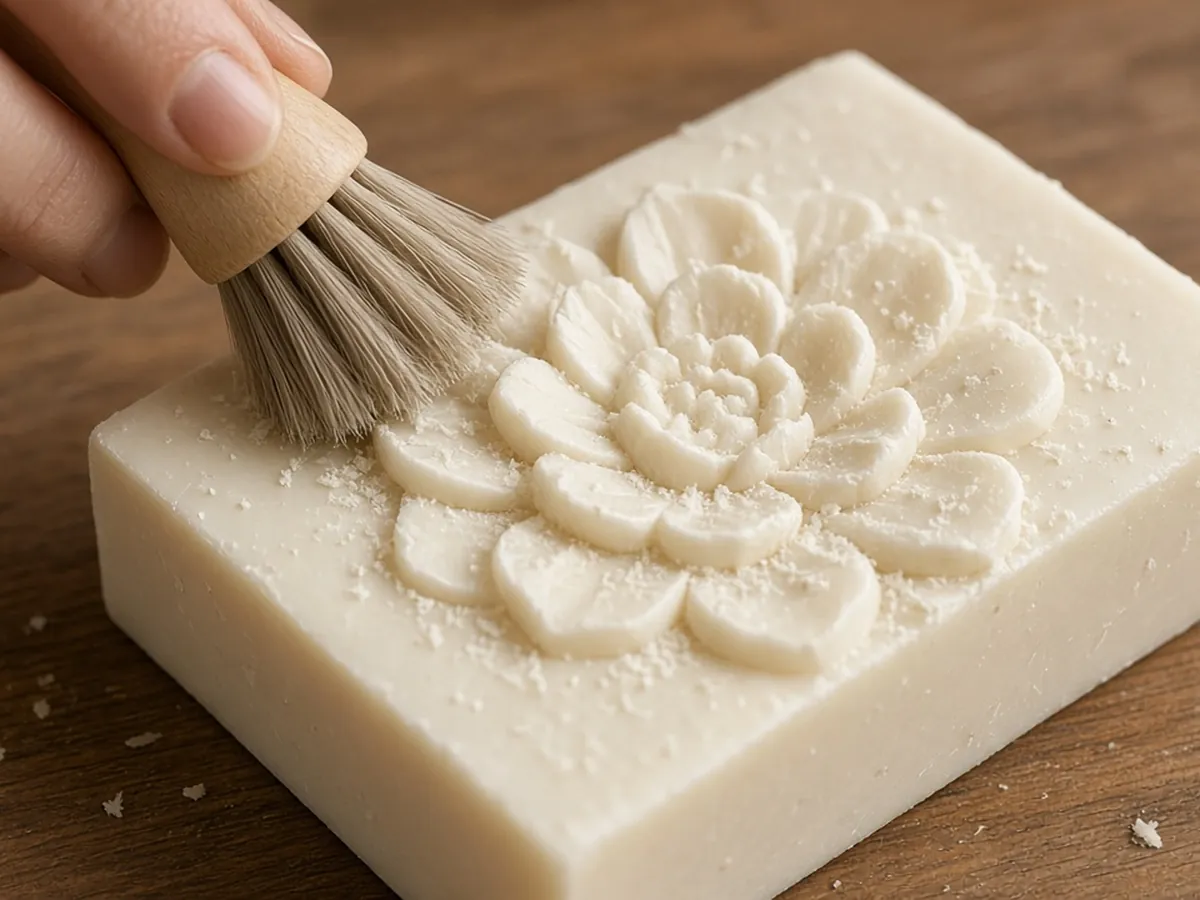
Wait until the silhouette and proportions are right. Then:
- Brush off crumbs with a soft dry brush.
- Make one light cleanup pass with a rounded edge, a dry fingertip or a towel.
- Leave a few hand-made facets. The goal is a convincing form, not a factory surface. Chasing every mark can erase useful facets and weaken corners.
For drying, display and protecting a finished piece, see how to store, finish and display a soap carving.
Common technique mistakes
| Problem | Usual cause | Fix |
|---|---|---|
| Corners chunk off | Cutting toward an edge with too much pressure | Cut from the edge inward; take smaller bites |
| Hole or thin spot in a relief | Setting down deeper than the outline, or digging into the shape | Keep the field shallow; widen it before you deepen it |
| Soap cracks or splits | Dry bar, levering the tool, deep cuts near thin parts | Slice instead of prying; shallow passes; keep thin parts thick until last |
| Fuzzy, smeared lines | Soft or warm soap, dull tool | Let the bar rest somewhere cool; clean the blade |
| Busy surface, weak shape | Texture added too early | Finish the form first, then add one detail |
Asking why did my soap crack, or need to rescue a broken piece? The soap carving problems and fixes guide covers each fault in depth.
Which technique to practice next
- Clean curves: carve a leaf or heart and practice removing corners evenly.
- Plane changes and relief: carve a flower or rose and lower the field around a broad center.
- Volume: carve a fish or turtle and rotate the bar after every side.
- Texture: carve a snowflake or seashell, adding marks only after the base silhouette is stable.
When two approaches compete, choose the one that leaves more supporting soap. For the tools each technique needs, including household substitutes, see soap carving tools.
FAQ
What are the basic soap carving techniques?
The core techniques are pattern transfer, stop cuts, push and pull cuts, scooping, rounding over corners, relief carving (outlining, setting down and modeling), texturing and smoothing. Most projects use them in that order: map, rough out, shape, then detail and finish.
What is a stop cut in soap carving?
A stop cut is a straight-down cut along a line that a second, angled cut meets. The angled cut lifts out a small wedge and stops cleanly at the first cut instead of running into the design.
What is relief soap carving?
Relief carving leaves a raised design above a lower surrounding field. You make it by outlining the design, lowering the area around it, and then shaping the raised part, rather than cutting deeply into the design itself.
How do I transfer a pattern to soap?
Draw it with a soft pencil on the broad face, leaving a generous border. If the line is faint, trace it lightly with a toothpick. Keep the marks shallow so the pattern can still move as you learn the material.
How deep should a first relief be?
Start with a shallow step, just enough for the lower field to catch a shadow, then view it in side light. If you can’t see the change, widen the surrounding field before deepening. Keeping the base thick gives you room to refine or simplify.
How do I make a smooth soap carving?
Wait until the silhouette and proportions are right. Then use one light cleanup pass with a rounded edge, a dry fingertip or a towel. Chasing every mark can erase useful facets and weaken corners.
Why did my soap crack while carving?
Cracks usually come from a dry or old bar, from levering the tool instead of slicing, or from cutting too deep near a thin section. Take shallower passes, keep thin parts thick until the end, and see the problems and fixes guide for repairs.
Sources
- Chris Pye, “Basic Relief Techniques,” Woodcarving Illustrated (issue 43): relief vocabulary (lining in as a stop cut, lowering the ground, setting in, clean junction, slightly sloping wall). Woodcarving method, adapted to soap. Read the article.
- Soap Carving Lab safety guide: towel support, stable table, not carving on your lap, stop signals.