Editorial check: 2026-09-17 · Written for general education by Soap Carving Lab. Tools can cut; adults should actively supervise children. This is not professional safety advice.
17 Animal / beginner project
Carve a bear from soap.
How do you make a bear soap carving? Start with a firm, dry bar, sketch a broad front-facing silhouette, remove the corners in shallow passes, and let the ears and muzzle carry the expression. This beginner project keeps the body connected so the bear remains sturdy while you learn to turn a plain bar into a small animal form.
Begin the six quiet stages ↓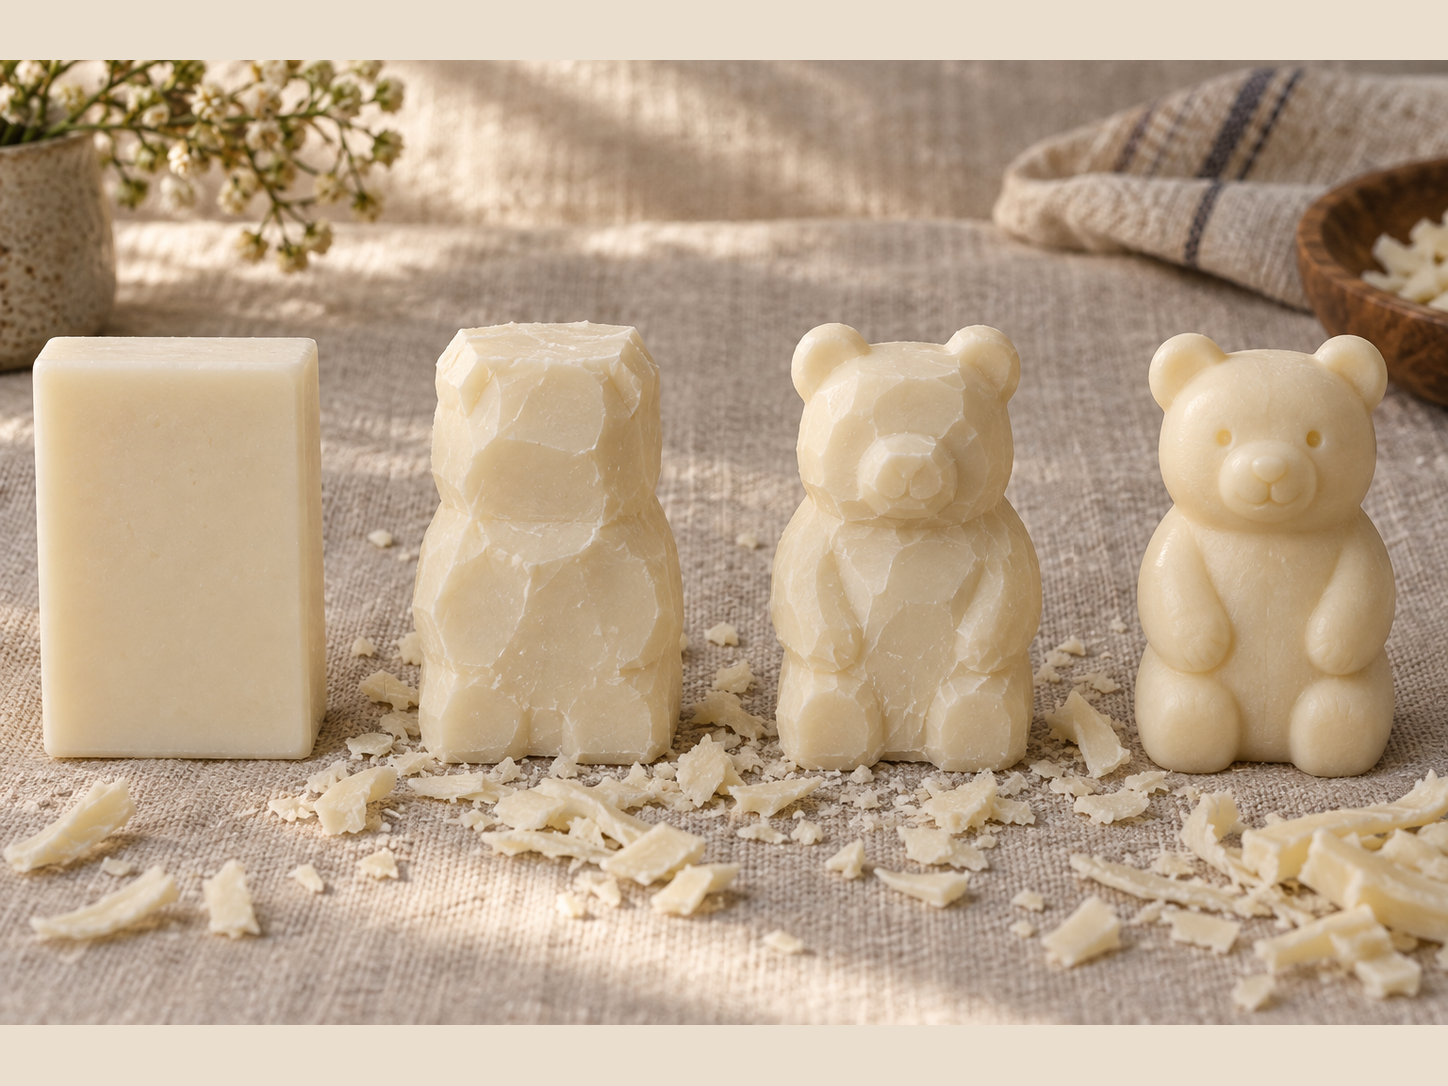
01 Set the bench
Give the bear a bar with room.
A bear needs a stable body and two clear ears more than tiny fur texture. Put the broad face up, test one light curl and keep the bar dry enough to hold a clean edge. See the best soap for carving guide for the material test, then read the safety guide before using any sharper tool.
- 01One firm, plain bar
Broad enough for a front view.
- 02A rounded butter knife
For shallow outline cuts.
- 03A soft pencil
For ears, muzzle and body.
- 04A toothpick or wood skewer
For small face marks.
- 05A dry tea towel
For grip and dry shavings.
02 Six quiet moves
Let the bear surface.
Read the sequence from block to finish. Turn the bar instead of twisting your wrist, keep each pass shallow and inspect the form before making it thinner. The soap carving techniques guide explains the same pressure rule in more detail.
- 01
Bar / orient
Make a level starting face.
Place the bar flat on the towel and choose the broadest face for the bear’s front. Leave material at the top and both sides; the first goal is a stable rectangle, not a finished animal.
- 02
Pencil map / front view
Draw the head and body as one mass.
Mark two round ears, a wide head, a small muzzle and a body that narrows only slightly toward the base. Keep the ears connected with a thick bridge and leave the belly broad enough to stand.
- 03
Waste / block
Clear the outside corners.
Shave the four corners in short curls, then work around the pencil map. Rotate the bar often and check the top, front and side views. Do not cut the ear gaps deeply yet.
- 04
Form / connect
Let the ears and muzzle appear.
Round the head, shoulders and belly with shallow passes. Cut a small step around each ear and remove only the soap that makes the shape unreadable. Keep the muzzle as a low, connected oval rather than a fragile knob.
- 05
Surface / suggest
Use a few calm face marks.
Add two shallow eye points, a short nose and a small mouth line with a toothpick. A single line under the muzzle can suggest the chin. Skip fur texture until the silhouette reads without it.
- 06
Base / finish
Level the bear and stop.
Bevel sharp edges, flatten the underside if it rocks and brush away crumbs. Inspect the ears, face and base from several angles, then let the carving air-dry on the towel. A simple, strong bear is finished.
Form note / connected silhouette
Make the big shape do the talking.
A readable bear soap carving is built from three relationships: a head wider than the neck, ears that sit above the head, and a body that stays broad enough to stand. Use a front view for an easy first project; a three-quarter turn can come later when you are comfortable checking the side thickness.
If one ear chips, round both ears into low semicircles so the pair still feels intentional. If the muzzle becomes too large, widen the cheeks instead of trying to carve it smaller. Browse the animal soap carving ideas guide for another connected silhouette.
03 Rescue plan
Keep the form whole.
Thin points are the first things to go. Broaden the nearby shape instead of forcing a delicate repair, and use the problems-and-fixes guide if the bar starts crumbling.
- The ears crumble.
- Stop thinning the gaps. Round both ears and leave a thick bridge above the head.
- The bear looks like a block.
- Round the shoulders, belly and cheek corners before adding face marks. Big planes create the animal.
- The muzzle breaks.
- Flatten it into a low oval and keep the nose line shallow. Do not rebuild a projecting knob.
- The bear rocks.
- Mark the high underside corner and take one level pass. Keep the body broad.
05 Five useful answers
Questions from the towel.
What soap is best for a bear soap carving?
Use a firm, plain, dry bar with a broad face. Test one light curl first and avoid a bar that powders, smears or needs force.
How do I carve bear ears without breaking them?
Draw wide ears, remove the surrounding waste first and leave a thick connection to the head. Shallow passes are stronger than trying to cut the final gap at once.
Can a beginner make a bear from soap?
Yes. A front-facing bear can stay as one connected mass. Block the head and body first, then add only a few shallow face marks.
Do I need a sharp carving knife?
No specialist blade is required for the broad beginner cuts. A rounded butter knife, pencil, toothpick and towel can support a supervised session. Stop if the bar slips or a cut needs force.
Can children do this bear soap carving?
Children need active adult supervision through setup, carving and cleanup. Use a stable table and rounded tools, and keep sharper blades under direct adult control.