Editorial check: 2026-09-17 · Written for general education by Soap Carving Lab. Tools can cut; adults should actively supervise children. This is not professional safety advice.
18 Animal / beginner project
Carve a car from soap.
A soap carving car works best as a clean side profile: a long body, a low roof, two broad wheel shapes and a few shallow window lines. Start with a firm dry bar, remove the corners before the details and keep the wheels connected to the body so the form stays strong while you learn.
Begin the six quiet stages ↓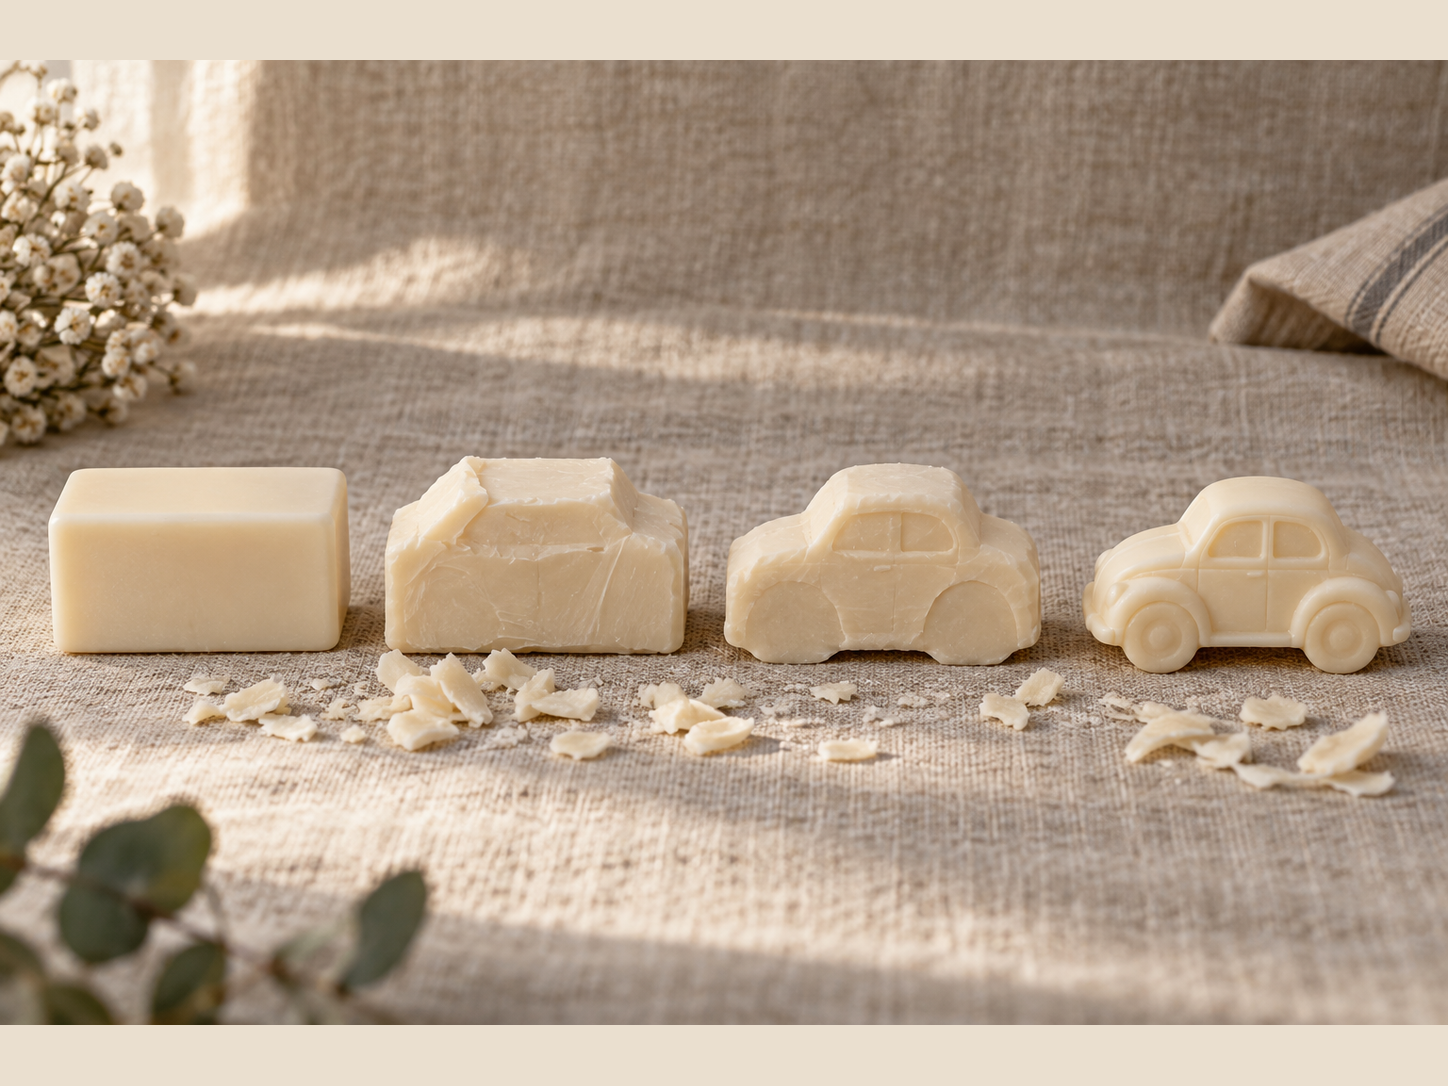
01 Set the bench
Give the car a bar with room.
A car reads through its roofline and wheel spacing. Choose the longest direction of the bar for the body and keep the lower edge thick enough to rest without rocking. See the best soap for carving guide for the material test, then read the safety guide before using any sharper tool.
- 01One firm, plain bar
Long enough for a side profile.
- 02A rounded butter knife
For the broad blocking cuts.
- 03A soft pencil
For roof, wheels and windows.
- 04A toothpick or wood skewer
For shallow door and window lines.
- 05A dry tea towel
For grip and cleanup.
02 Six quiet moves
Let the car surface.
Read the sequence from block to finish. Turn the bar instead of twisting your wrist, keep each pass shallow and inspect the form before making it thinner. The soap carving techniques guide explains the same pressure rule in more detail.
- 01
Bar / orient
Set the long direction first.
Place the bar flat on the towel with its longest edge running left to right. Test a small curl. If the soap crumbles or asks for force, switch bars before drawing the profile.
- 02
Pencil map / side view
Draw one calm car silhouette.
Mark a low hood, a sloping roof, a short trunk and two broad wheel circles. Keep the roof connected to the body and leave extra soap under both wheels; the circles are a suggestion, not holes.
- 03
Waste / block
Clear the four long corners.
Shave the top and bottom corners in short passes, then remove the outside material around the roofline. Rotate the bar to check its thickness and keep the underside flat enough to stand.
- 04
Form / refine
Let the roof and fenders appear.
Round the hood, roof and rear body. Carve shallow arcs around the wheels and leave a solid band between each wheel and the base. Do not undercut the roof or make the wheel arches paper-thin.
- 05
Surface / suggest
Add windows and one door line.
Use a toothpick to mark the windscreen, side window and a short door seam. Keep every mark shallow. A simple window shape plus two wheels will read more clearly than a crowded grille.
- 06
Base / finish
Level, soften and inspect.
Bevel the roof and wheel edges, level any rocking corner and brush away shavings. Check the side, front and top views, then let the car dry on the towel before handling it again.
Form note / connected silhouette
Make the big shape do the talking.
For a beginner soap carving car, the visual order is body, roof, wheels, then windows. Keep the lower body as one connected block and let the two wheel circles sit inside it. A side profile is easier to balance than a fully rounded car because you can check the silhouette at every turn.
Try a small van, hatchback or vintage car by changing only the roofline. If the roof becomes too narrow, lower it and widen the windows rather than cutting the body thinner. Link the project to soap carving techniques for the pressure rule and to the problems-and-fixes guide when a corner chips.
03 Rescue plan
Keep the form whole.
Thin points are the first things to go. Broaden the nearby shape instead of forcing a delicate repair, and use the problems-and-fixes guide if the bar starts crumbling.
- The wheels disappear.
- Re-draw them as shallow circles and remove only the surrounding corners. Do not cut through the lower body.
- The roof is too thin.
- Lower the roof and broaden the windows. A sturdy block reads better than a delicate roof.
- The car rocks.
- Level the underside with one light pass and keep both wheel areas connected to the base.
- The profile looks like a box.
- Round the hood, roof and rear corners before adding more lines. The outside contour does most of the work.
05 Five useful answers
Questions from the towel.
What is the easiest soap carving car shape?
A side-profile car with a low roof, broad body and two suggested wheel circles is the easiest starting point. It keeps the main mass connected and makes the silhouette easy to check.
How do I carve car wheels without making holes?
Draw broad circles and carve a shallow ring around them. Leave the wheel shapes connected to the lower body rather than cutting through the bar.
Can I make a car from a small soap bar?
Yes, if the bar has enough length for a readable side profile. Simplify the roof and windows before making the body too thin.
What tools do I need for soap carving car?
A firm bar, rounded knife, soft pencil, toothpick and towel are enough for the broad beginner process. Work at a stable table and stop if the bar slips.
How do I keep the car from breaking?
Keep the roof, wheel areas and lower body broad, make shallow passes and inspect the front and top views before removing more material.