Editorial check: 2026-10-03 · Written for general education by Soap Carving Lab. Tools can cut; adults should actively supervise children. This is not professional safety advice.
26 Seasonal / beginner project
Carve a ghost from soap.
A small soap ghost is a friendly beginner project: draw a rounded top, broad body and shallow wavy hem, then shape the outline with light passes. Keep the arms and neck connected, add the face last and stop if the bar slips or crumbles.
Begin the six quiet stages ↓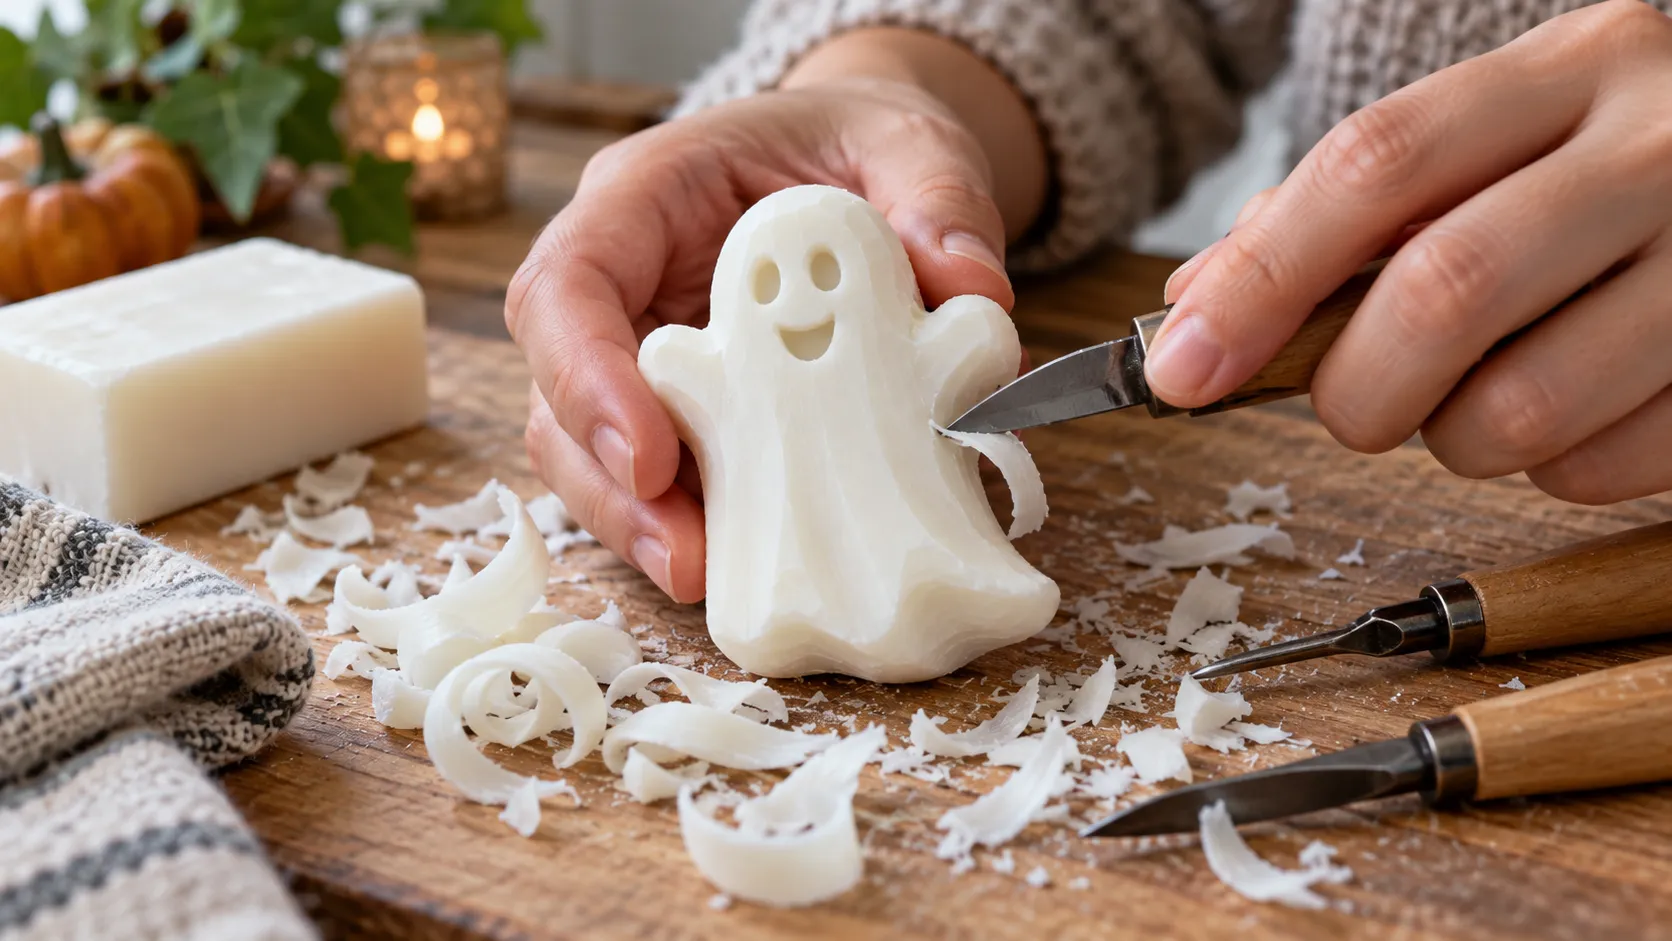
01 Set the bench
Give the ghost a bar with room.
A ghost reads through its rounded head, connected shoulders and simple wavy hem. Keep the side contours broad, work over a tray or paper, and use a stable table rather than carving with the bar held in the air. See the best soap for carving guide for the material test, then read the safety guide before using any sharper tool.
- 01One firm, plain bar
Choose a broad face and test one light curl before drawing.
- 02A rounded butter knife
For shallow outline and shaping passes.
- 03A soft pencil
For the ghost silhouette and face placement.
- 04A toothpick or wood skewer
For shallow eye and mouth marks.
- 05A dry tea towel
For grip, shavings and a stable work surface.
02 Six quiet moves
Let the ghost surface.
Read the sequence from block to finish. Turn the bar instead of twisting your wrist, keep each pass shallow and inspect the form before making it thinner. The soap carving techniques guide explains the same pressure rule in more detail.
- 01
Bar / orient
Choose a broad, stable face.
Place a firm, dry bar on a towel. Test a small curl; switch to another bar if the soap crumbles, smears or needs force. Keep the work on a stable table and cover it with paper or a tray for shavings.
- 02
Pencil map / front view
Draw the outline before the face.
Sketch a rounded head, sloping shoulders and a low hem with two or three shallow waves. Leave visible soap around every edge. Keep any arms close to the body so they remain thick and connected.
- 03
Waste / block
Remove the corners a little at a time.
Use a rounded tool for light passes from the outside toward the pencil line. Turn the bar on the table as you work; do not twist the tool toward your supporting hand or take a full corner in one slice.
- 04
Form / silhouette
Round the head and shoulders.
Soften the top curve and lower the material around the outline. Shape the hem with shallow scallops rather than deep gaps. Compare both sides often, and keep the body wide enough to remain sturdy.
- 05
Surface / suggest
Add the face last.
Use a toothpick or skewer to press two small eyes and one shallow mouth. Deep holes can split the surface, so stop when the expression reads clearly from a normal viewing distance.
- 06
Base / finish
Brush away shavings and inspect.
Check that the ghost rests securely, round any sharp corners and brush off crumbs. If a detail chips, shorten or soften the matching feature instead of trying to rebuild a narrow projection. Let the carving air-dry on the towel.
Form note / connected silhouette
Make the big shape do the talking.
A simple soap carving ghost is mostly a one-piece silhouette. The broad body carries the design; the face and hem are only small cues. Keep the ghost about two-thirds the height of the bar, leave margin around the outline and avoid thin arms or a narrow neck.
Change the hem or tilt the head to make the shape your own, but remove material in small curls. If one corner breaks, turn that side toward the back or reshape the ghost smaller. Before starting, read the soap carving safety guide, and use the printable templates guide if you want help planning an outline.
03 Rescue plan
Keep the form whole.
Thin points are the first things to go. Broaden the nearby shape instead of forcing a delicate repair, and use the problems-and-fixes guide if the bar starts crumbling.
- The arms or neck look fragile.
- Leave broad connections to the body or remove the arms from the design. A simple silhouette is stronger than a thin projection.
- The hem breaks into points.
- Round the tips and reduce the depth between waves. Keep the bottom edge broad.
- The face looks too deep.
- Stop pressing, soften the edges and keep the marks shallow. Do not make larger holes to correct their spacing.
- The soap crumbles or slips.
- Pause and set the tool down. Switch to a firm, dry bar and secure it on a towel before continuing.
05 Five useful answers
Questions from the towel.
What soap works best for a ghost carving?
A firm bar that holds a clean shaving is easier to shape than a soft or crumbling one. Test a small corner before drawing the design.
Can children make a soap ghost?
Children can draw the outline or brush away shavings with an adult choosing the tools and supervising closely. Use a stable table and rounded tools; sharper blades require direct adult control.
How do I keep the soap ghost from breaking?
Keep the body broad, leave narrow details shallow and remove material in small curls. Support the bar on the work surface if it slips.
Can I use the carved soap in the bath?
That is a personal choice. Small features can soften with use, and the carving tool or work surface may leave residue. Keep a display piece dry; use a separate clean bar if you plan to wash with it.